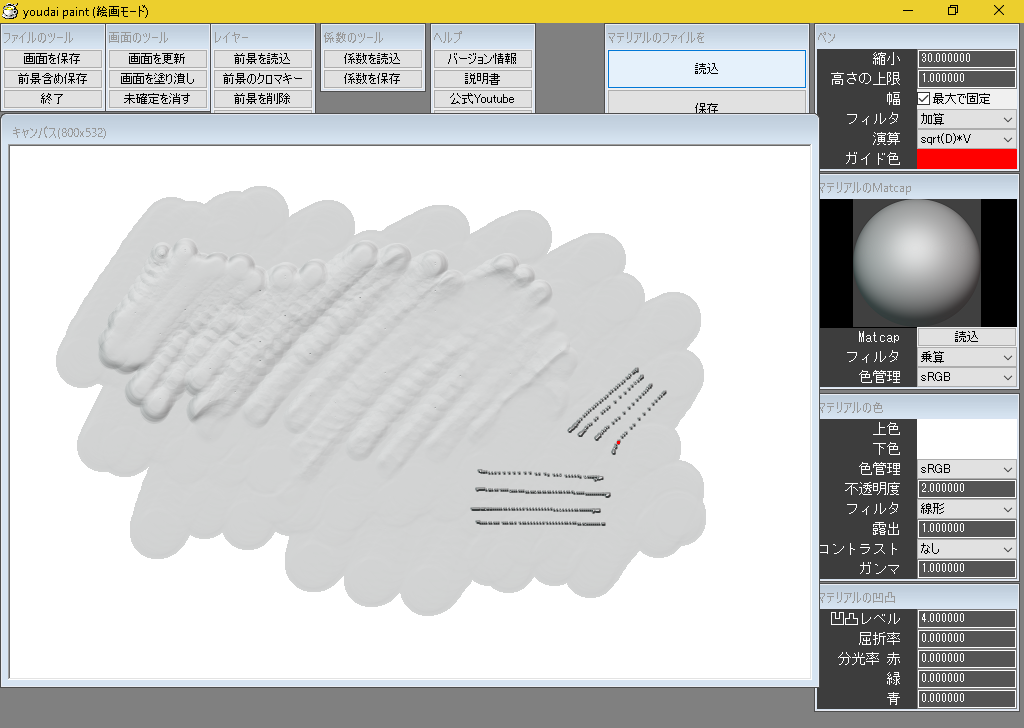
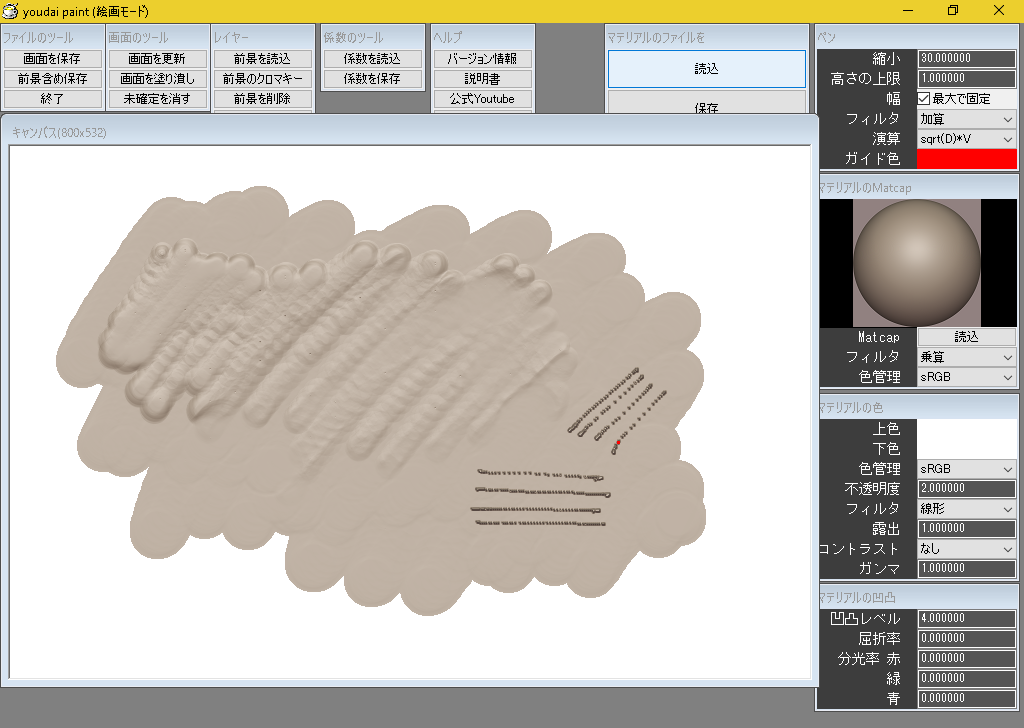
マテリアル
グループ
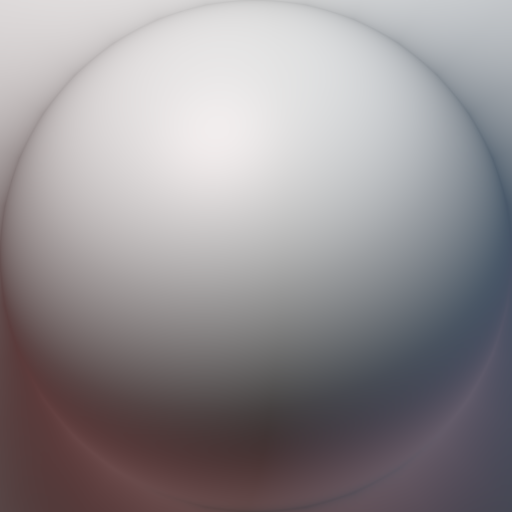
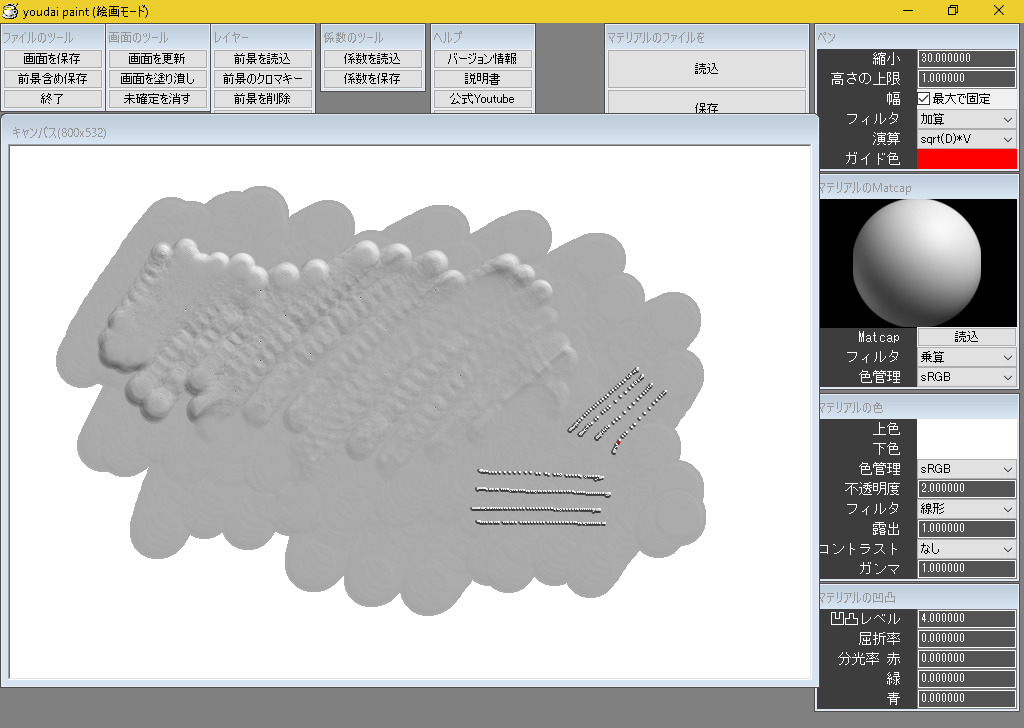
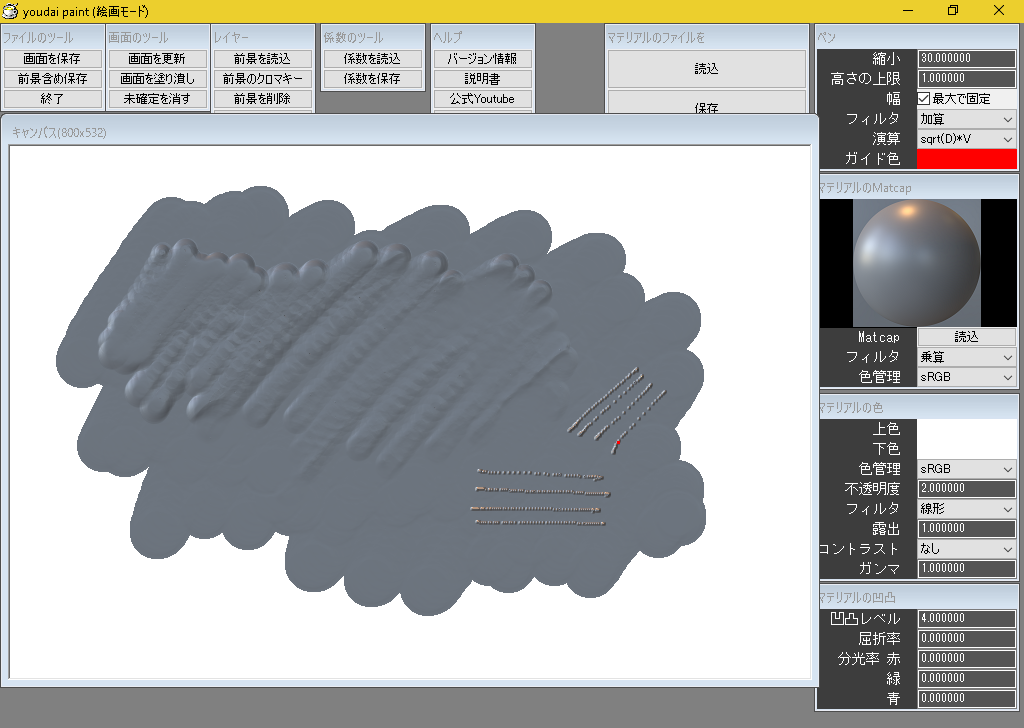
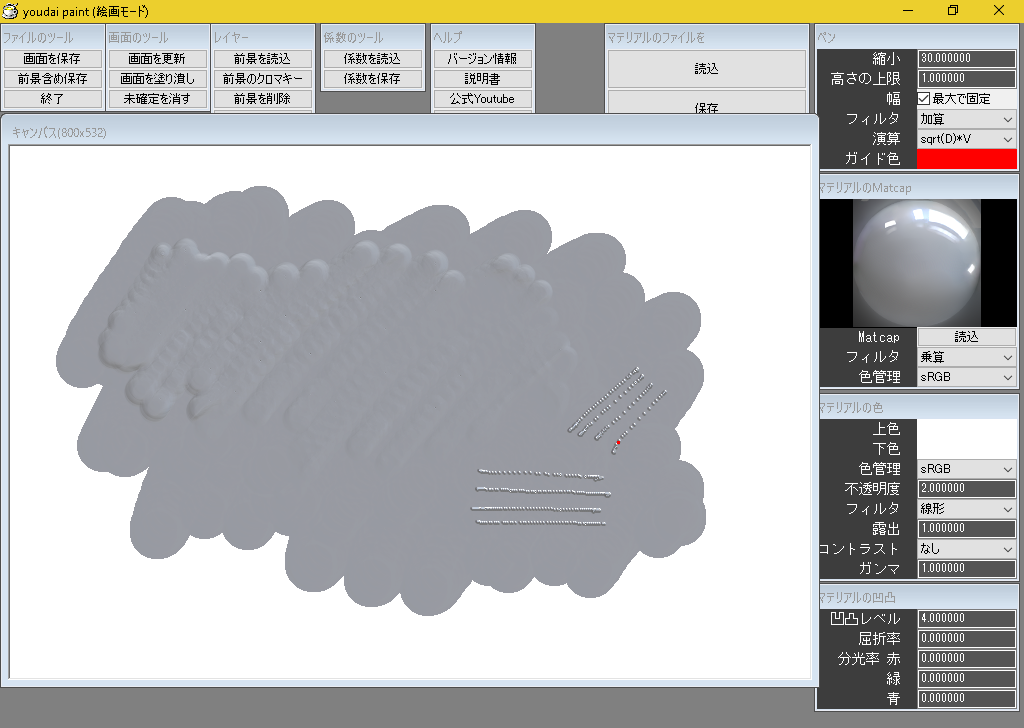
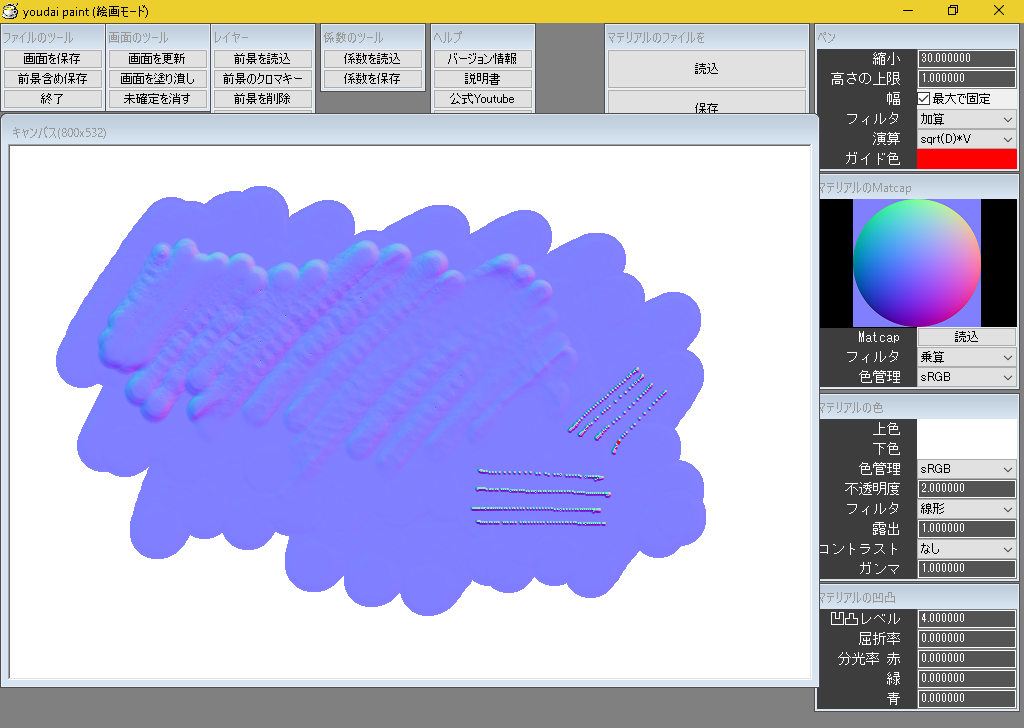
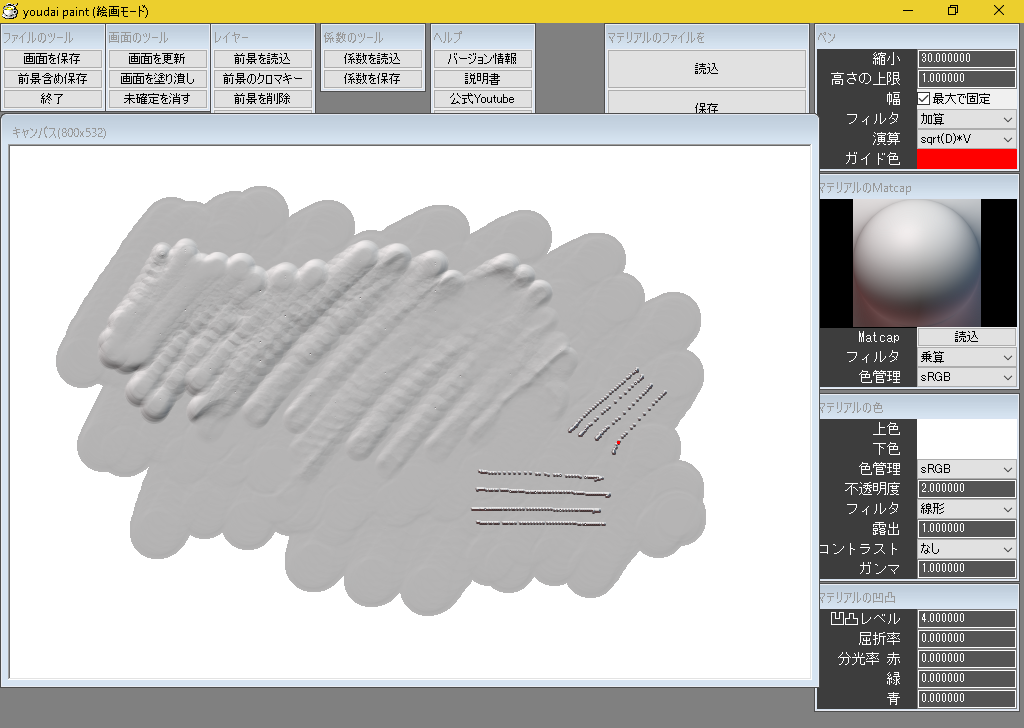
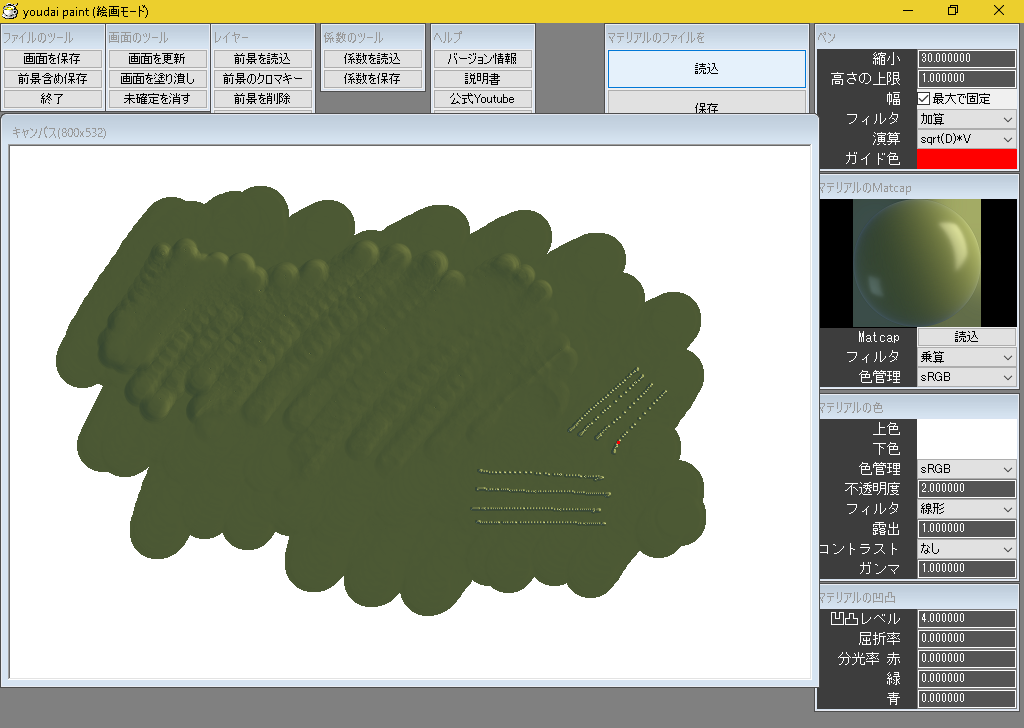
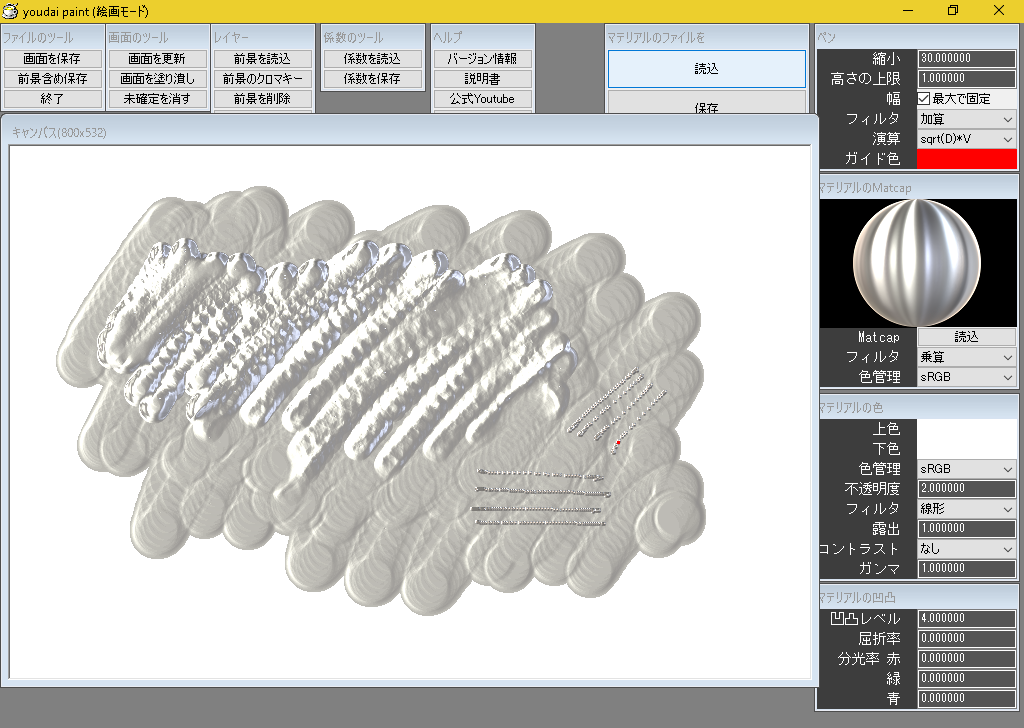
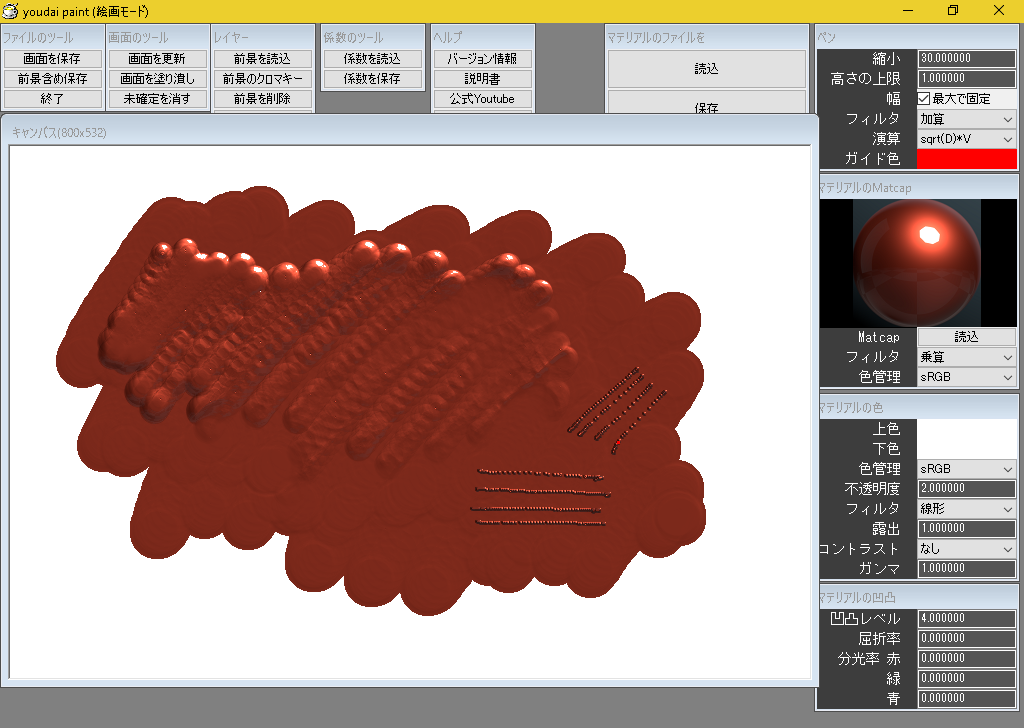
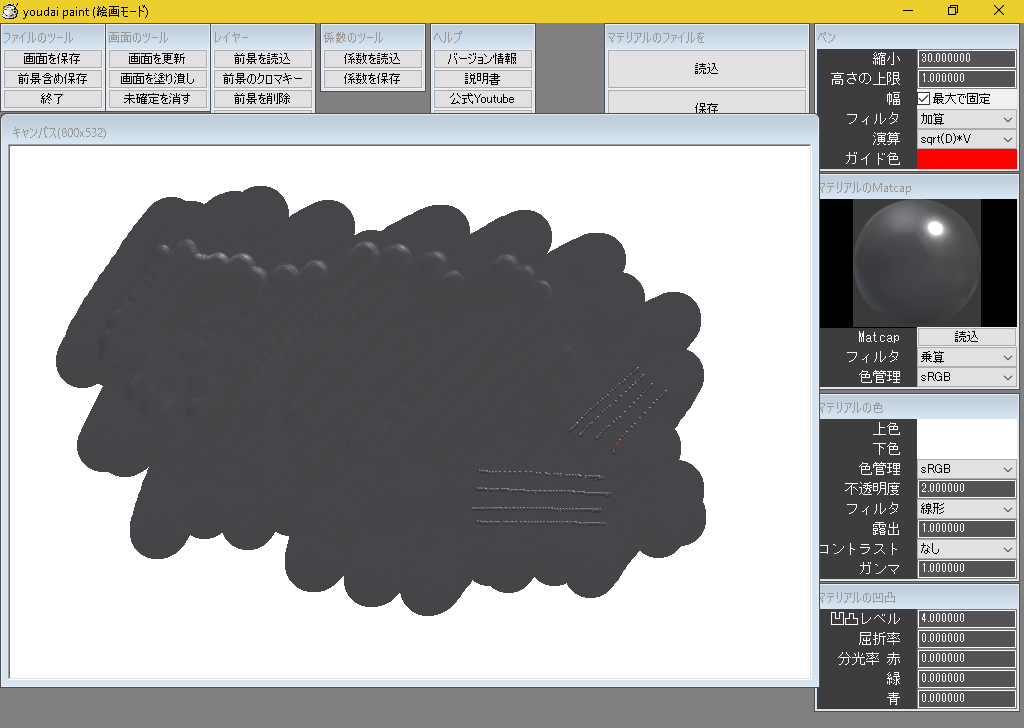
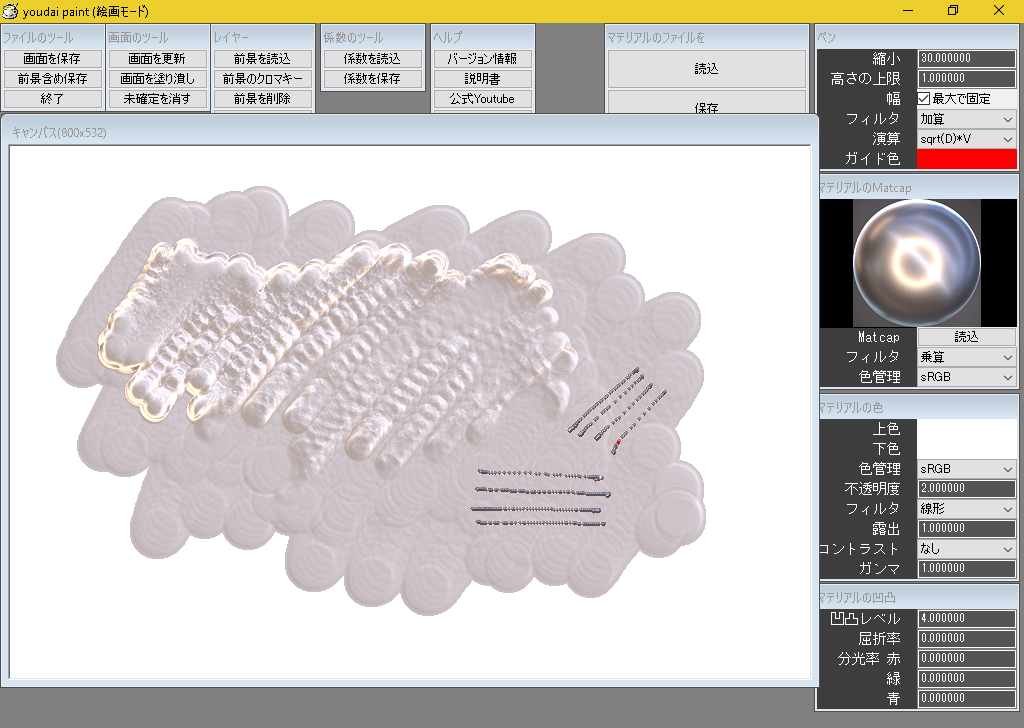
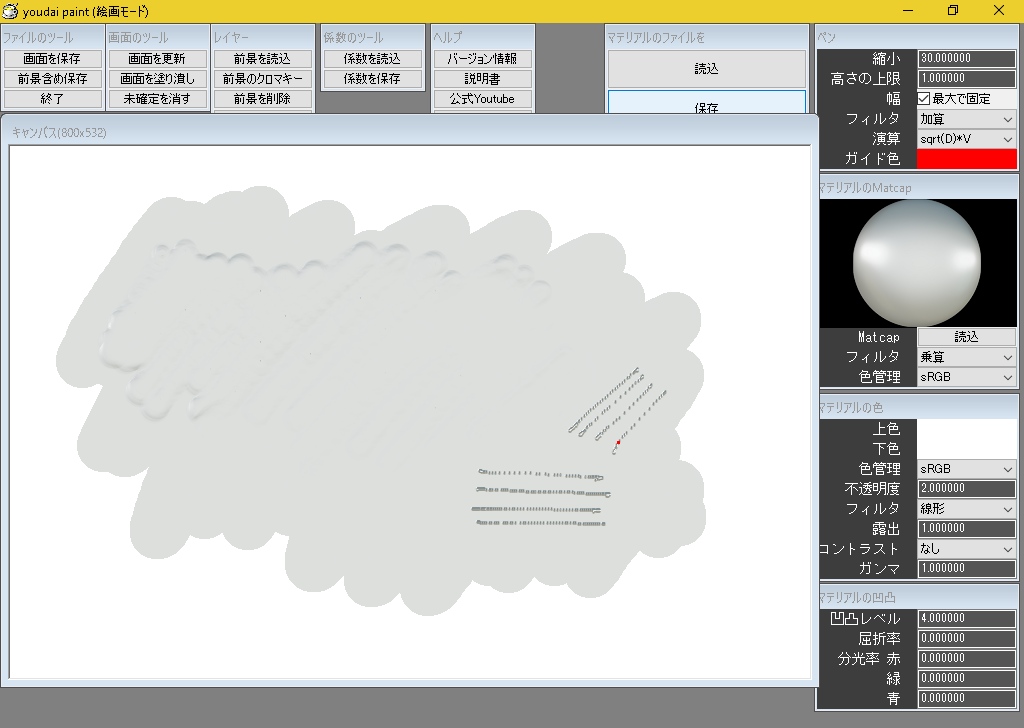
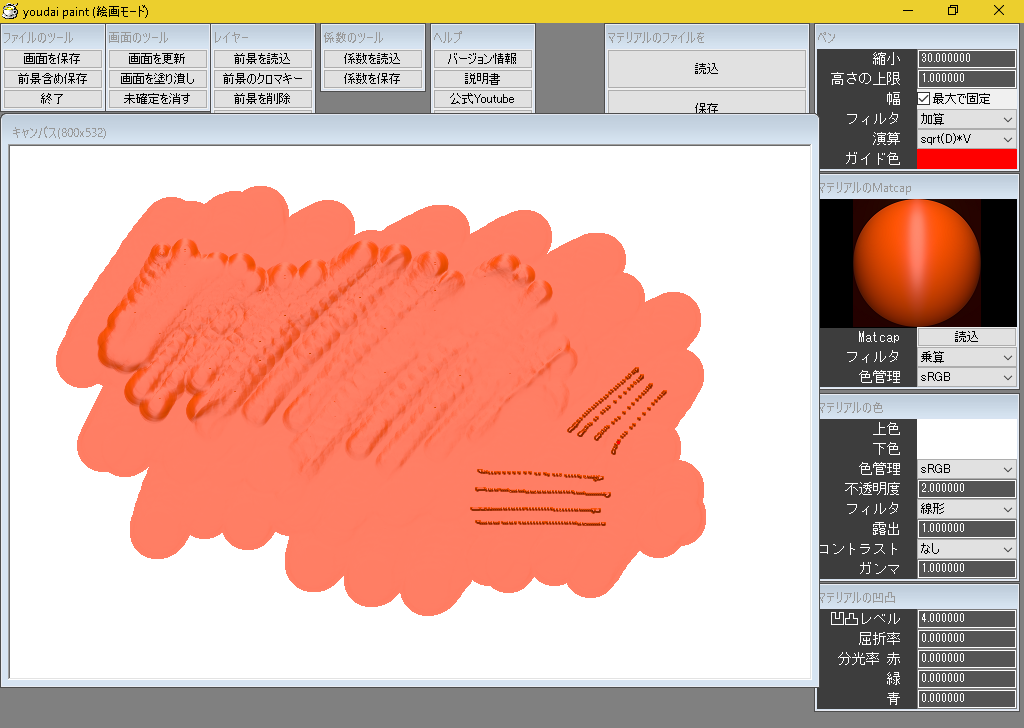
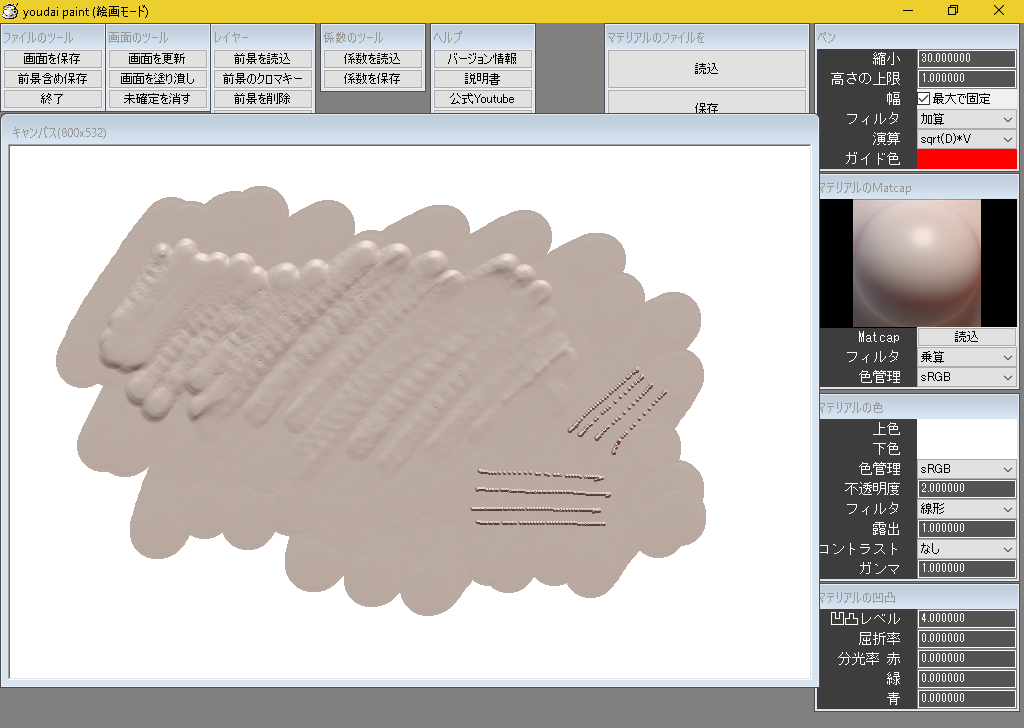
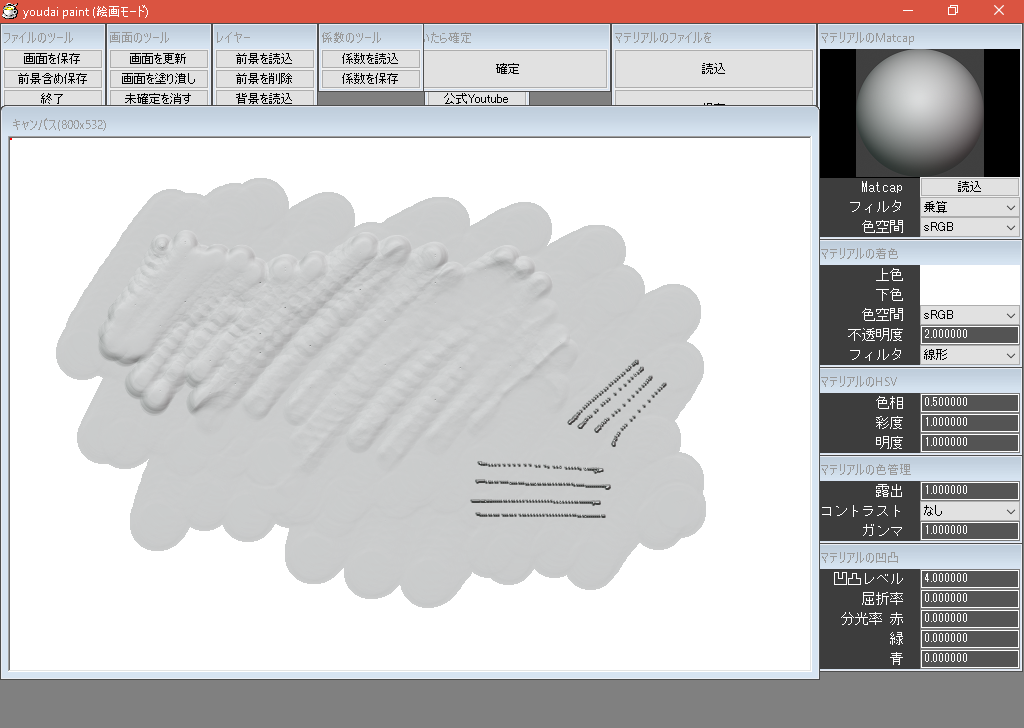
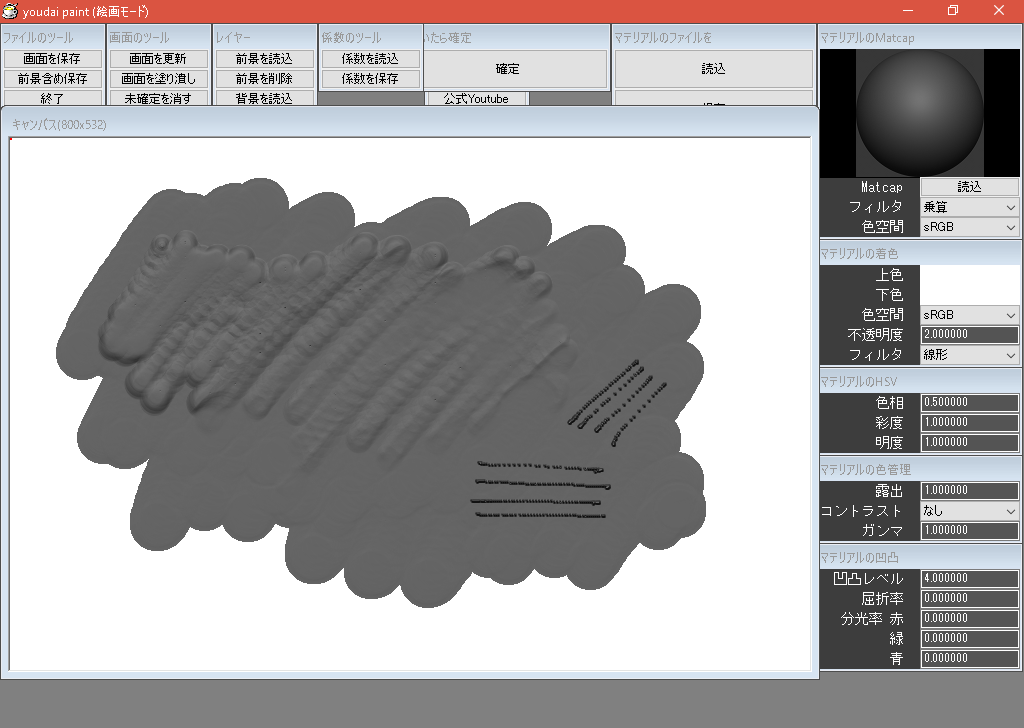
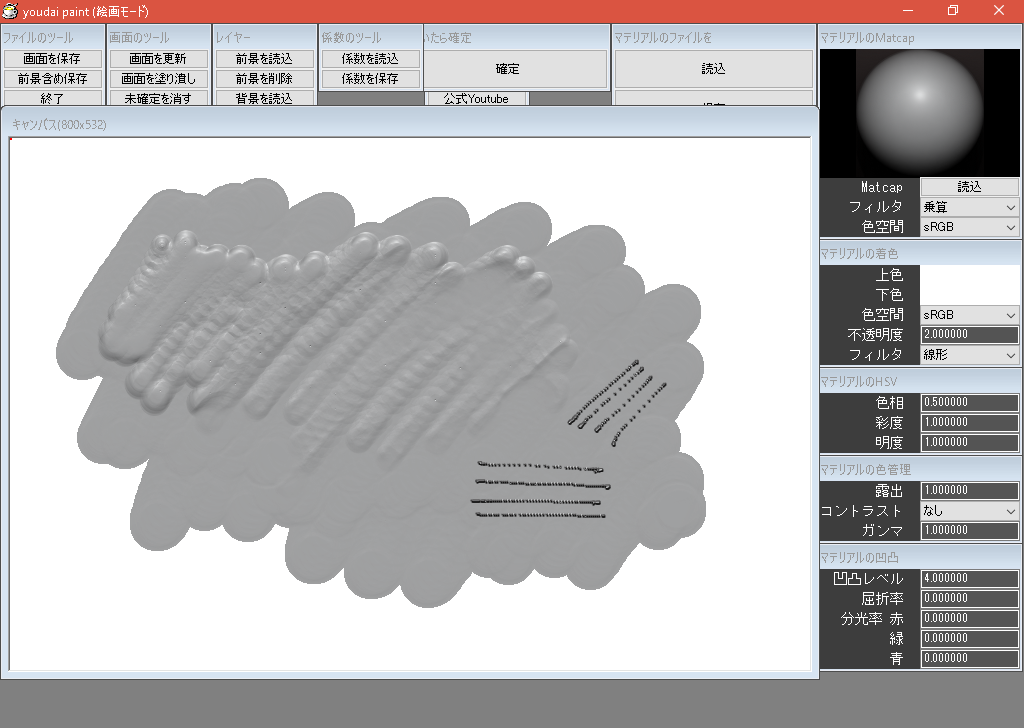
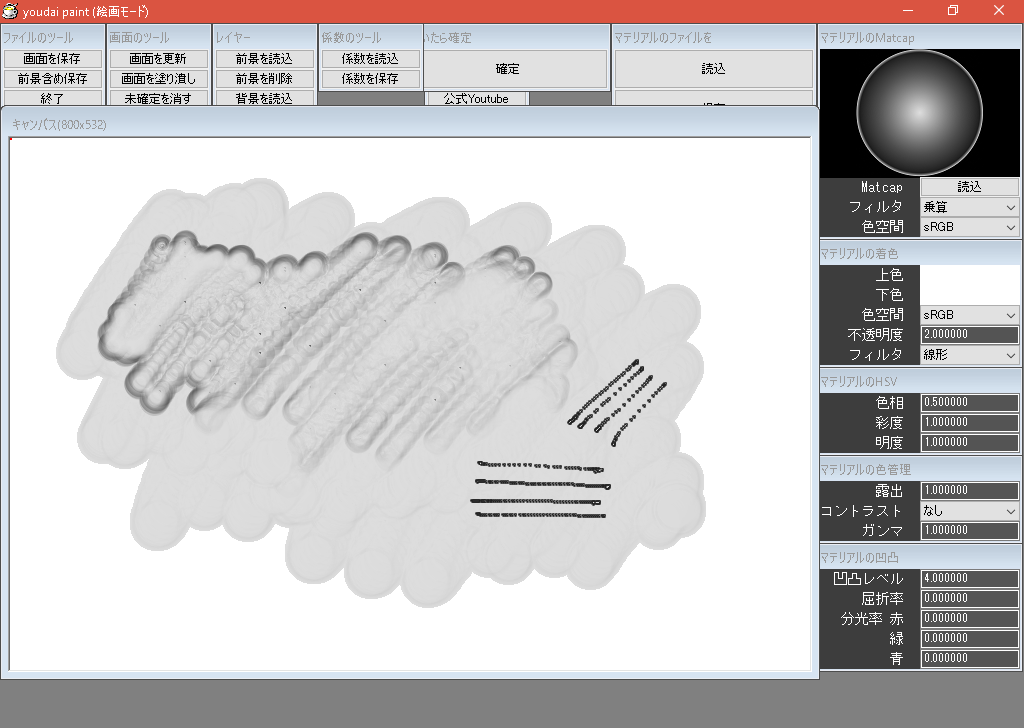
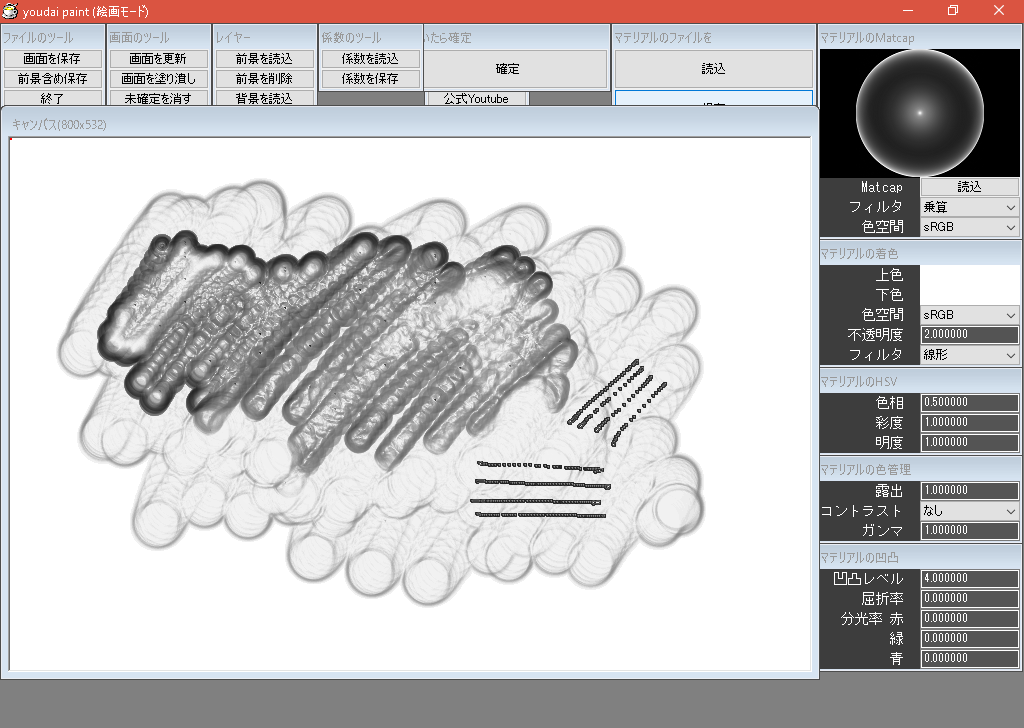
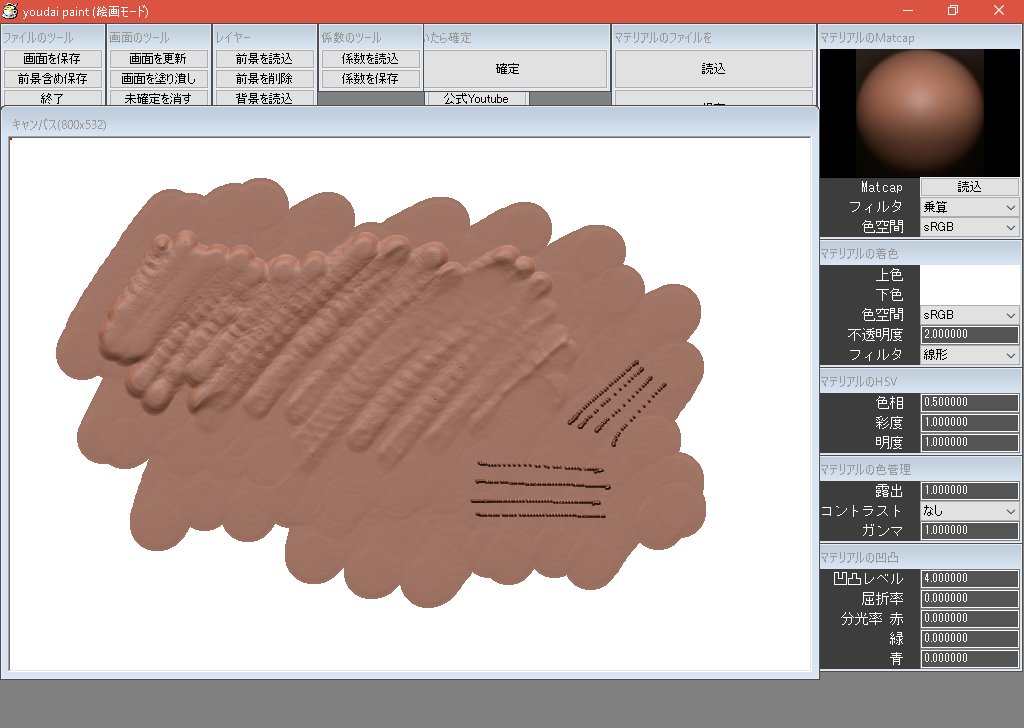
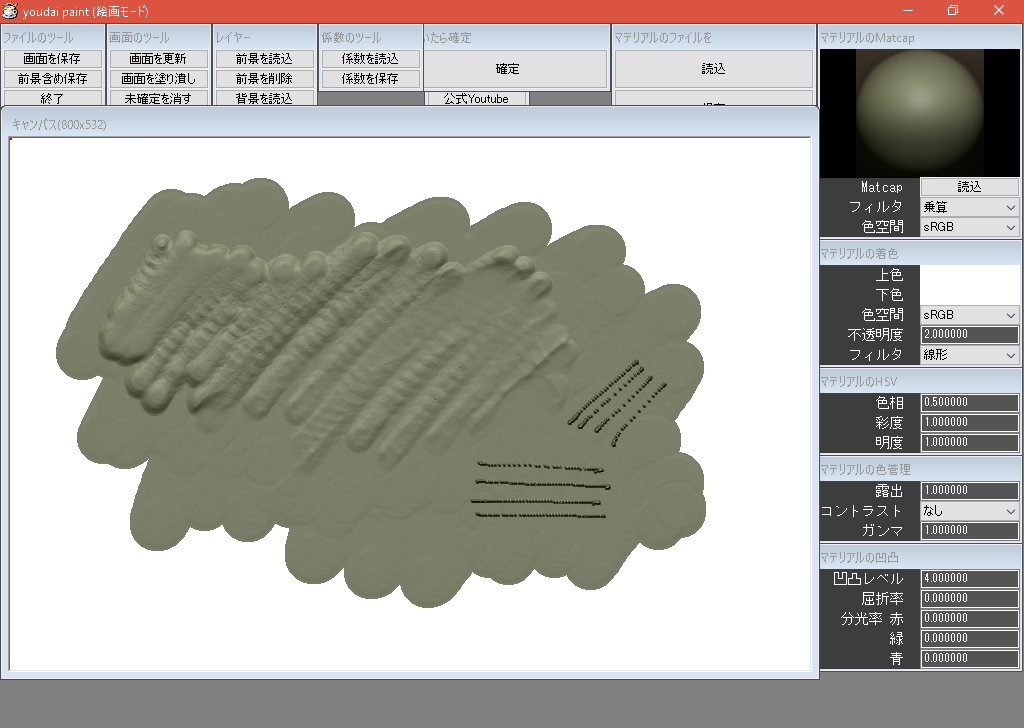
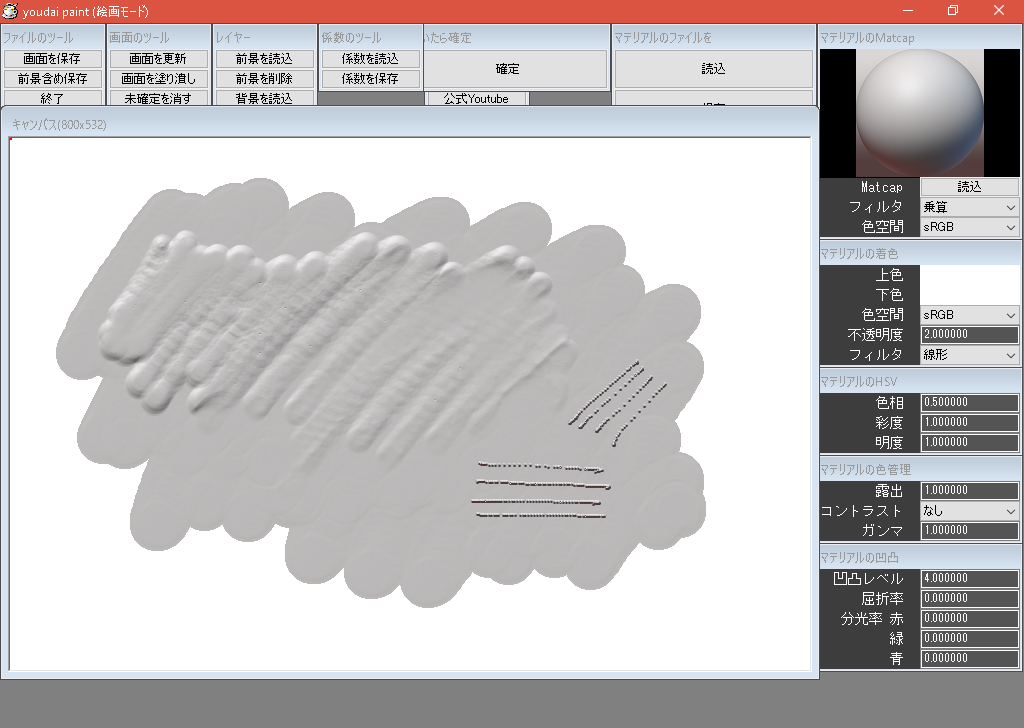
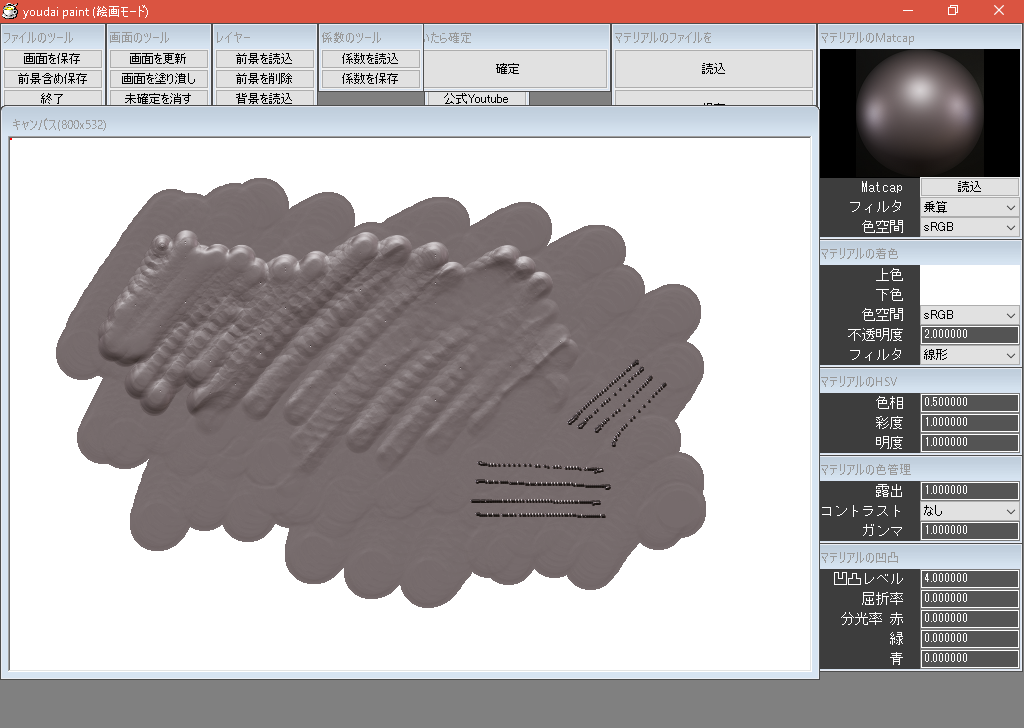
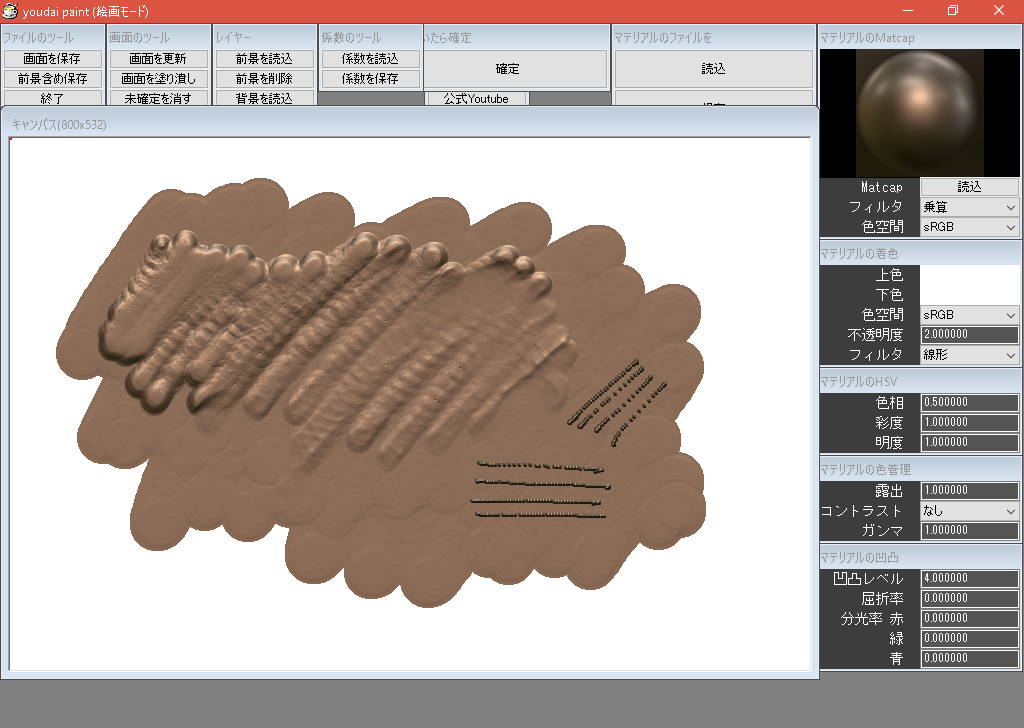
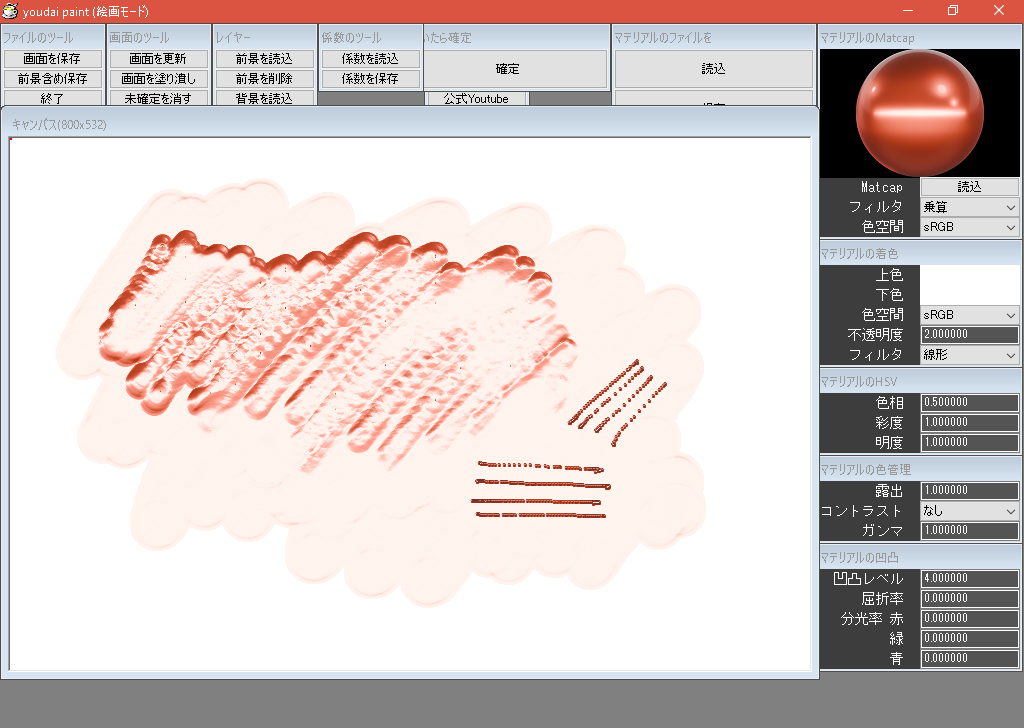
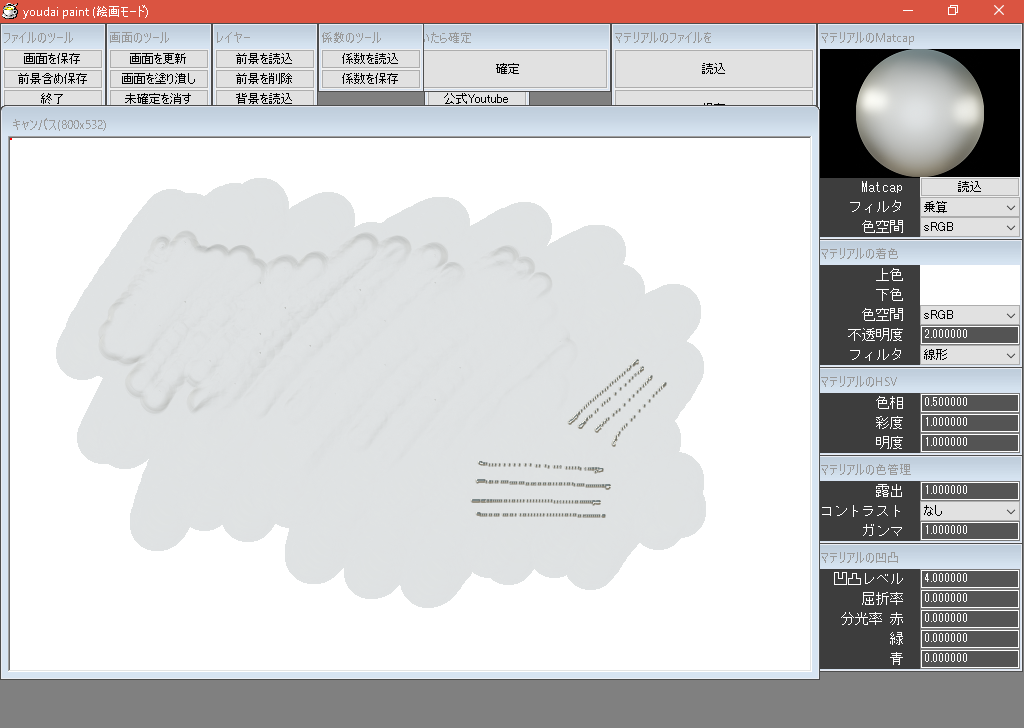
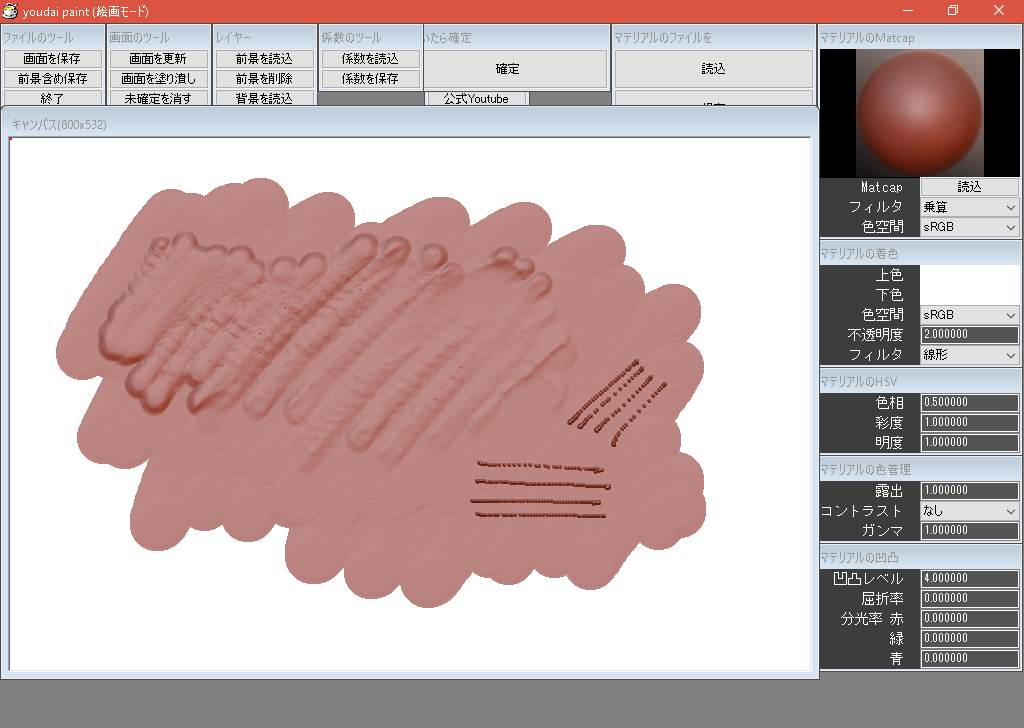
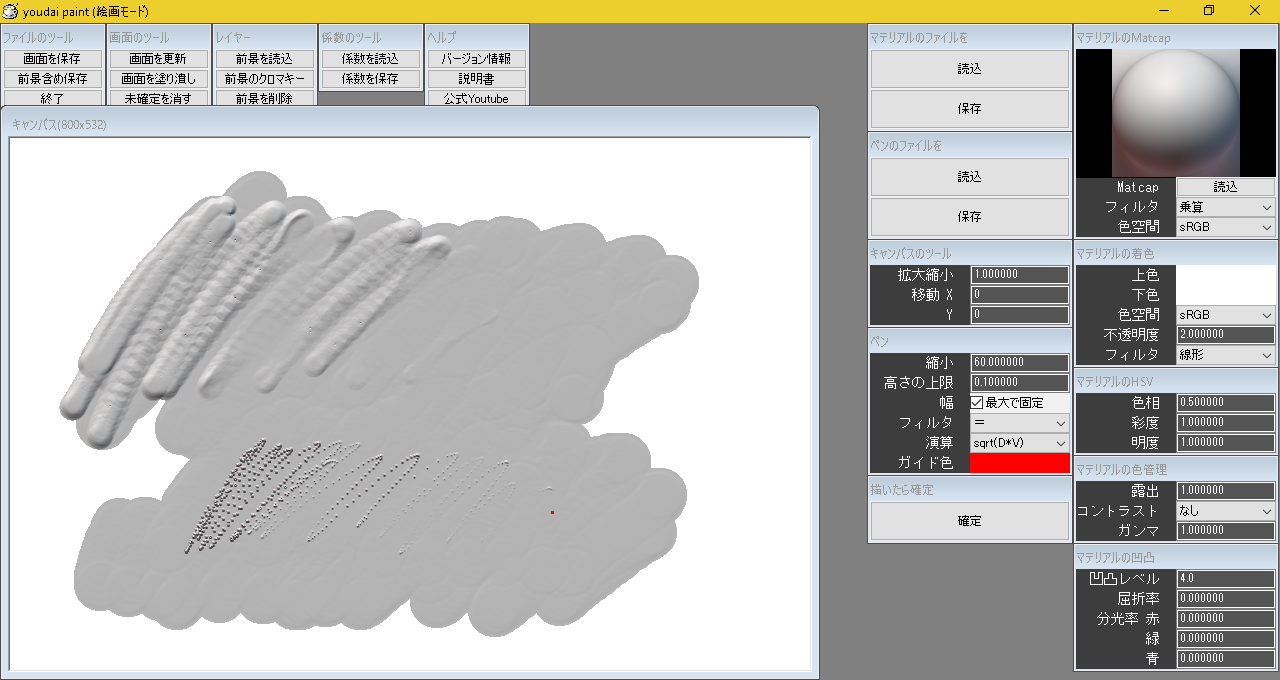
マテリアルのMatcap
マテリアルの着色
マテリアルのHSV
マテリアルの色空間
マテリアルの凹凸
マテリアルのMatcap
ちなみに
Matcapとは、半球環境テクスチャとも呼びます。
ちなみに
Matcapはネットを検索すれば、たくさん公開されています。
Blenderでも簡単に作れる他、Matcap作成専用のツールも公開されています。
自分でMatcapを作れるようになれば、youdai paintでの表現の幅が広がるでしょう。
Matcap読込
Matcap画像を読み込みます。
画像サイズの規格は「512 x 512」です。
Blender 2.83のMatcap
「matcap/blender283」フォルダに同梱
<サンプル>
basic_1.png
basic_2.png
basic_dark.png

basic_side.png
ceramic_dark.png
ceramic_lightbulb.png
check_normal+y.png
check_rim_light.png
clay_brown.png
clay_muddy.png
clay_studio.png
jade.png
metal_anisotropic.png
metal_carpaint.png
metal_lead.png
metal_shiny.png
pearl.png
resin.png
skin.png
metal_anisotropic.png(specular:屈折)
metal_anisotropic.png(specular:分光屈折)

Blender 5.0のMatcap
「matcap/blender5」フォルダに同梱
<サンプル>
basic_bright_b5.png
basic_dark_b5.png
basic_grey_b5.png
basic_side_b5.png
brush_thumbnail_preview_b5.png
ceramic_dark_b5.png
ceramic_lightbulb_b5.png
check_gradient_b5.png
check_rim_light_b5.png
clay_brown_b5.png
clay_green_b5.png
clay_studio_b5.png
clay_warm_b5.png
fullmetal_b5.png
hard_surface_grey_b5.png
hard_surface_red_b5.png

metal_bronze_b5.png
metal_carpaint_b5.png
pearl_b5.png
red_wax_b5.png
resin_b5.png
specularフォルダについて
specularフォルダのMatcapは、色空間がLinearの反射光です。
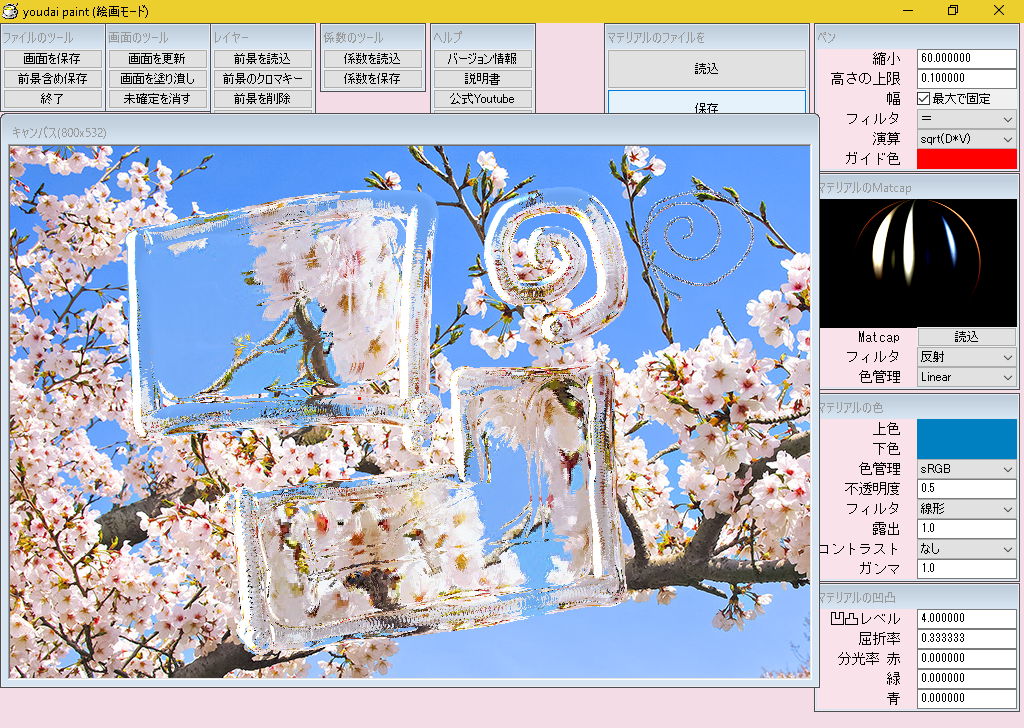
この特殊なMatcapはガラスなどの屈折表現時に「マテリアルのMatcap」の「フィルタ」を「反射」で使用するとリアルな表現ができます。
<サンプル>
metal_anisotropic.png(specular:屈折)
metal_anisotropic.png(specular:分光屈折)
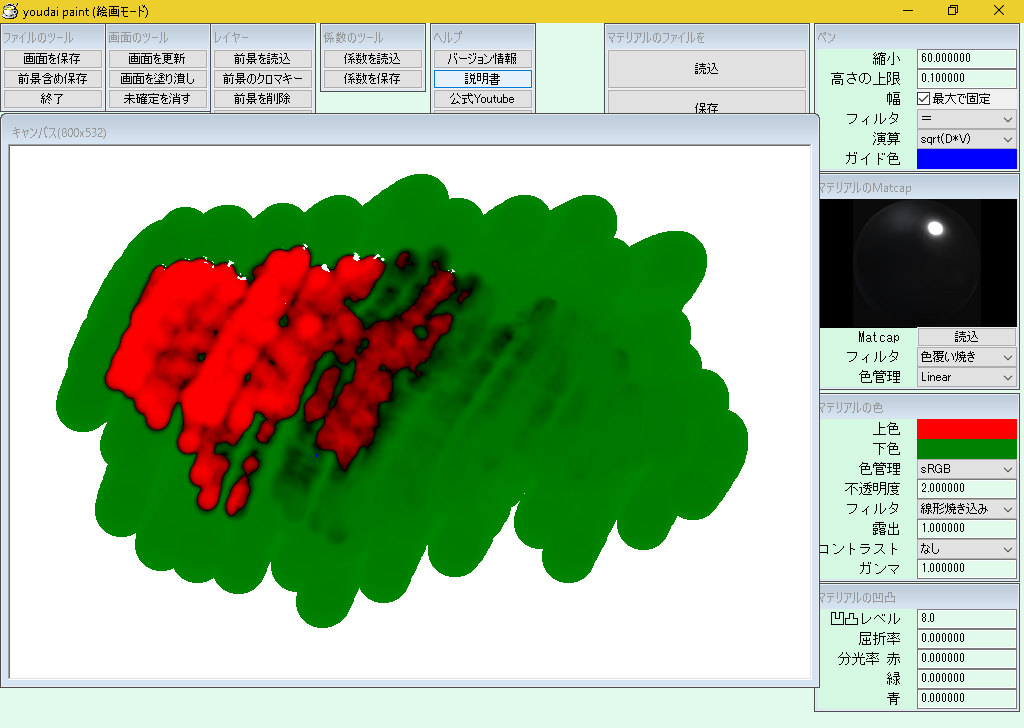
フィルタ
Matcapに対し、かけるフィルタを選択します。
<現実のクレヨンやパステルと同じグラデーションにしたい場合>
線形にすると現実のクレヨンやパステルなどの不透明な画材と同じグラデーションになります。
<現実の絵具と同じグラデーションにしたい場合>
線形焼き込みにすると現実の油絵や水彩と絵具と同じグラデーションになります。
<線形>
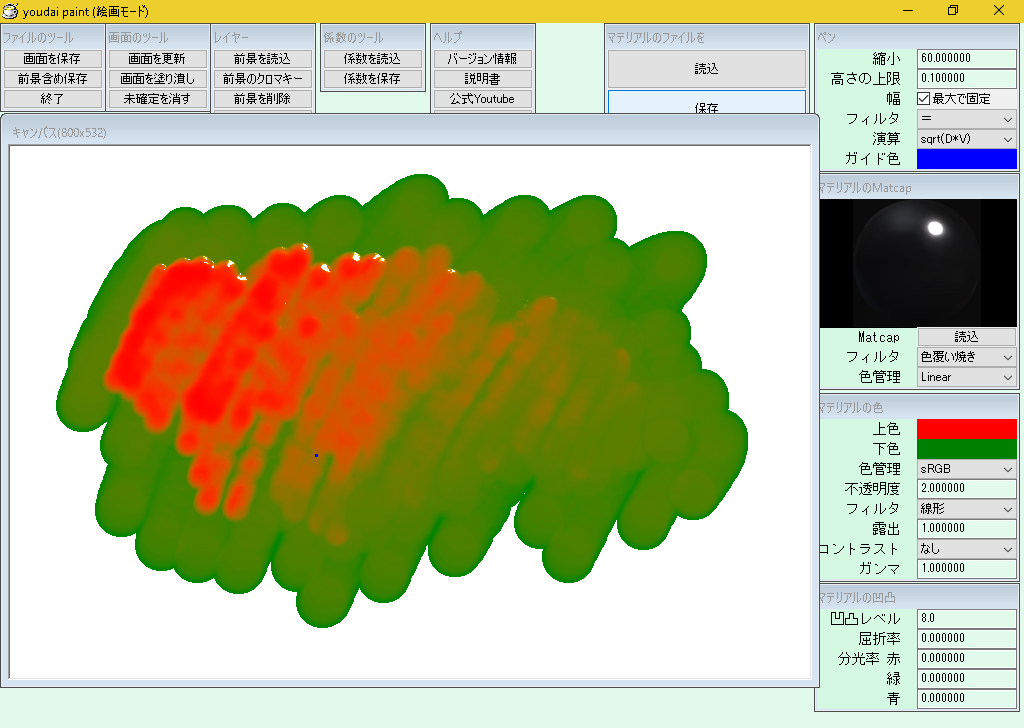
<線形焼き込み>
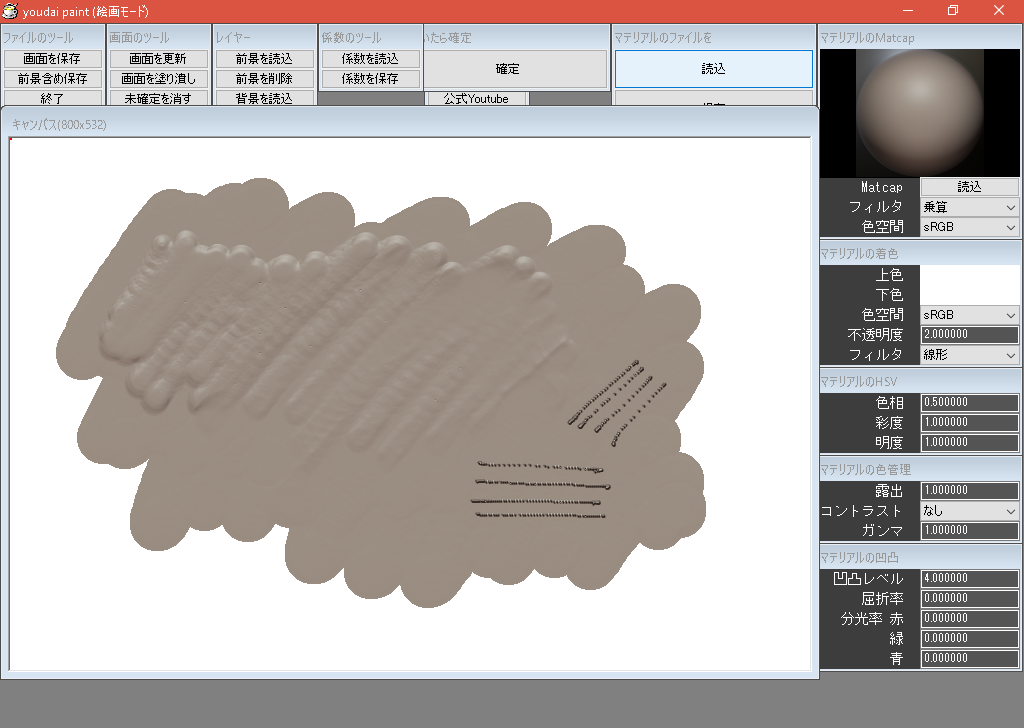
色空間
Matcap画像の色空間を選択します。
通常は、画像がsRGBで保存されていれば色空間もsRGBを選択しましょう。
ちなみに
Matcapの配布元が色空間について言及していない場合、その画像は「ディスプレイで見える、そのままの色空間」であるsRGBであると思って差し支えないでしょう。
ちなみに
youdai paintに同梱しているmatcapフォルダの「linear」と「specular」の色空間はLinearです。
ちなみに
色空間は、意図的に画像とは異なる色空間を選択することもできます。
表現の目的によって使い分けましょう。
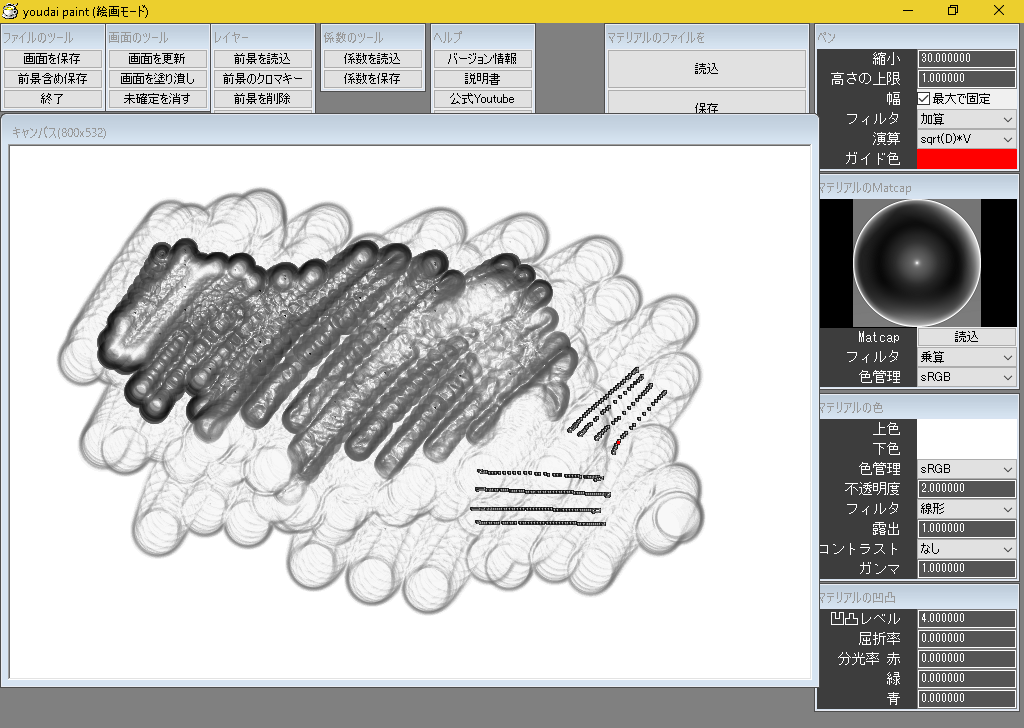
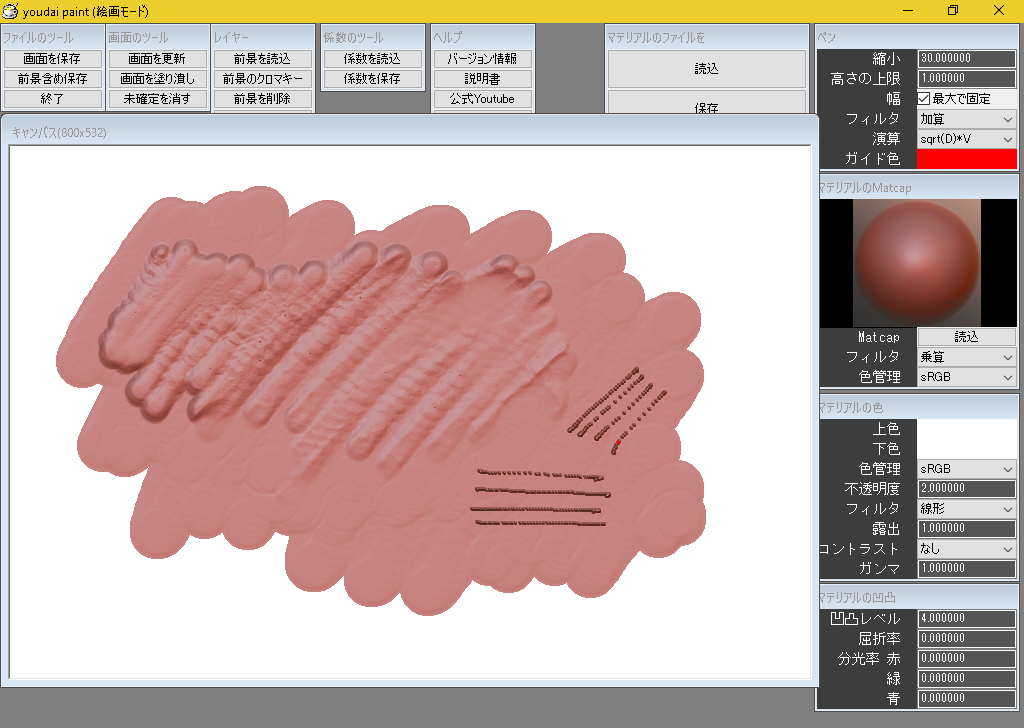
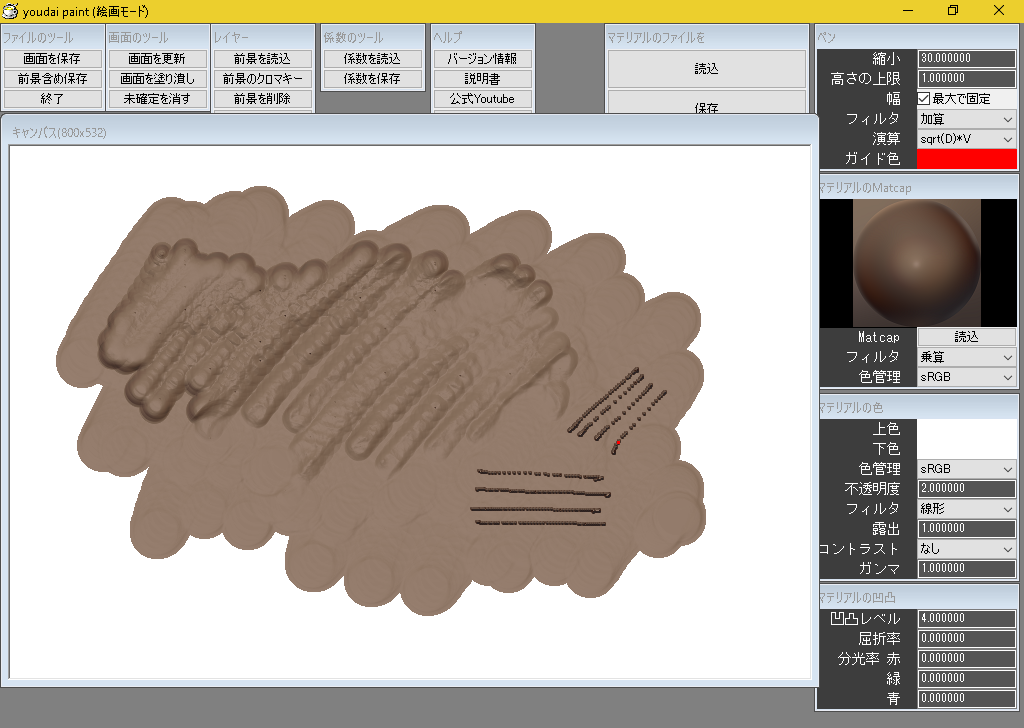
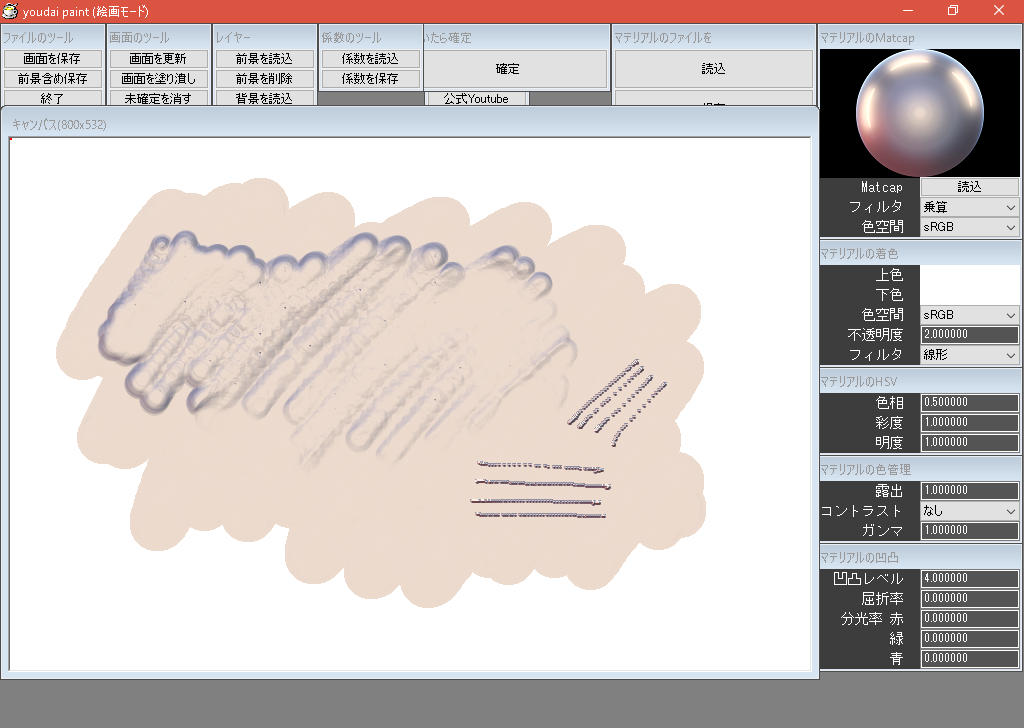
マテリアルの着色
上色
Matcapに着色する上色を選択します。
下色
Matcapに着色する下色を選択します。
背景色
背景色を選択します。
ちなみに
背景色は3Dテクスチャモードのみの機能です。
色空間
絵画モード : 上色と下色の色空間を選択します。
3Dテクスチャモード : 上色と下色と背景色の色空間を選択します。
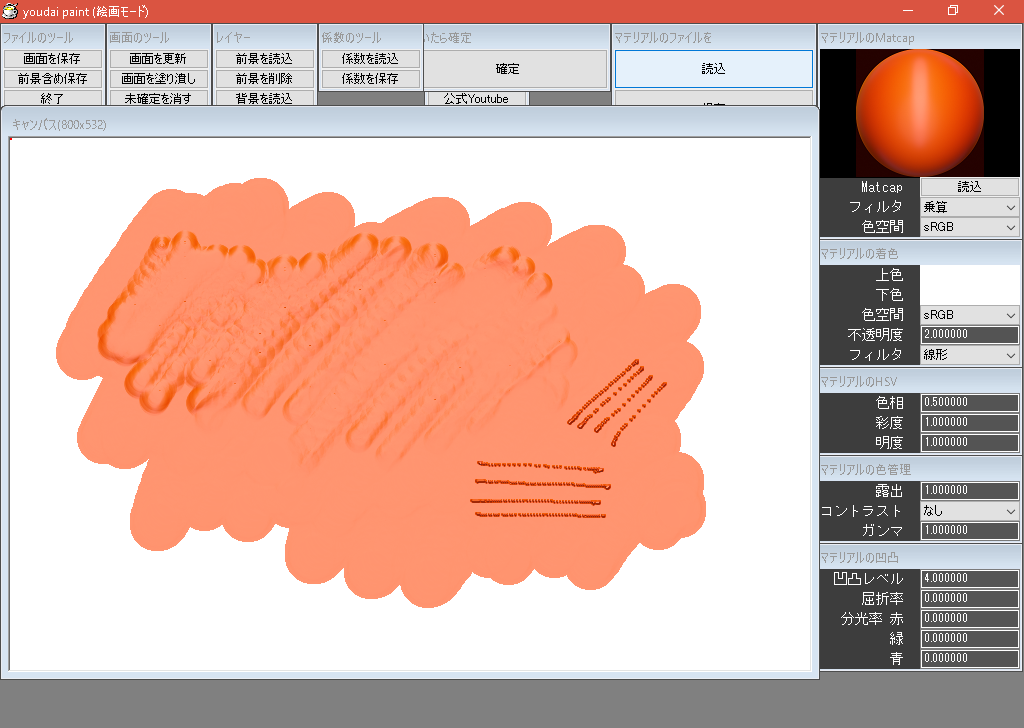
不透明度
ちなみに
不透明度は絵画モードのみの機能です。
<「1.0より大」にした場合>
Matcapに着色する色は完全な不透明になります。
Matcapそのものも完全に不透明で描画されます。
<「1.0以下」にした場合>
Matcapに着色する色は半透明になります。
Matcapそのものも「高さ」に従って透明度が反映されます。
<「0.0」にした場合>
Matcapに着色する色は完全に透明になります。
Matcapそのものも「高さ」に従って透明度が反映されます。
フィルタ
Matcapに対する上下色のフィルタを選択します。
マテリアルのHSV
マテリアルのHSVを制御します。
グループ
色相
彩度
明度
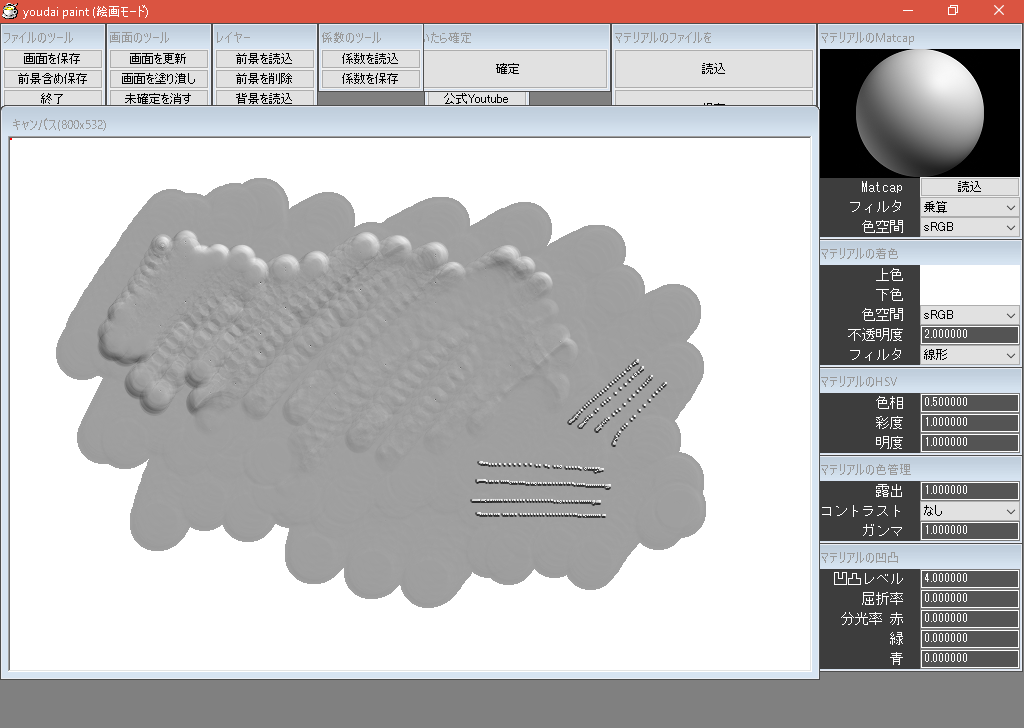
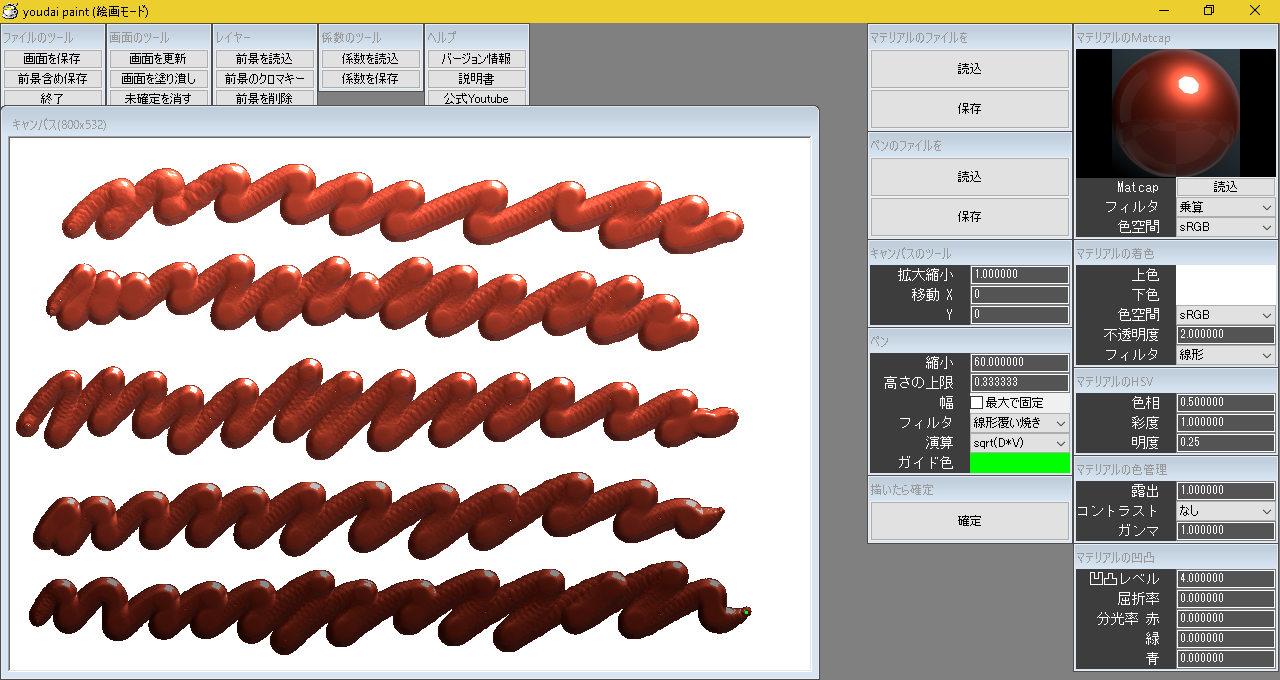
色相
色相を変更した例
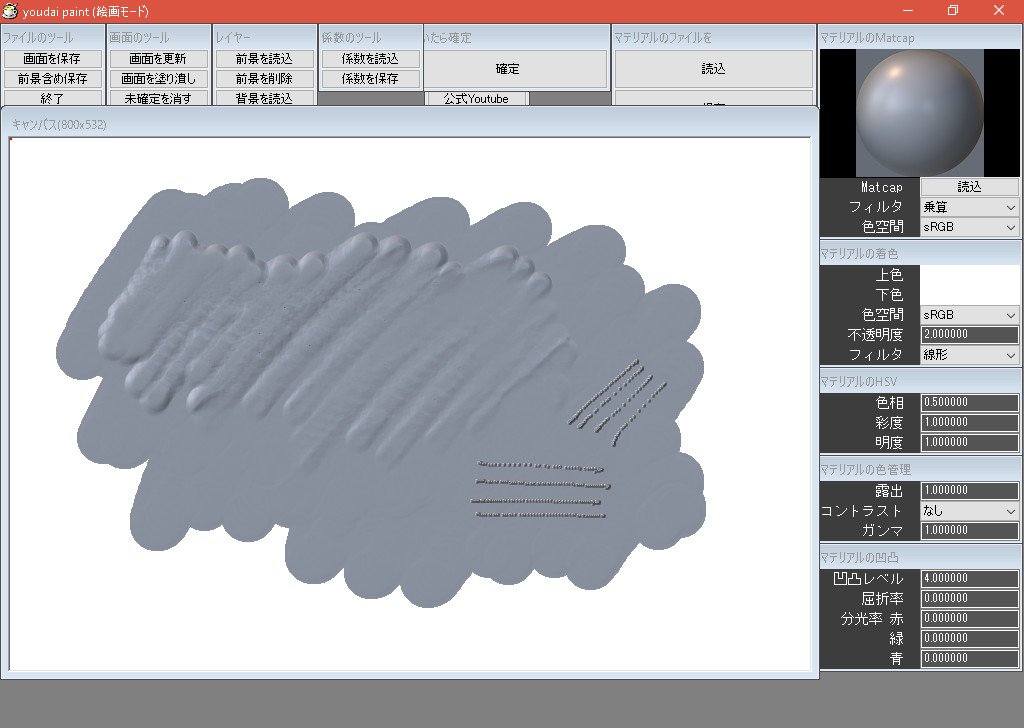
彩度
彩度を変更した例
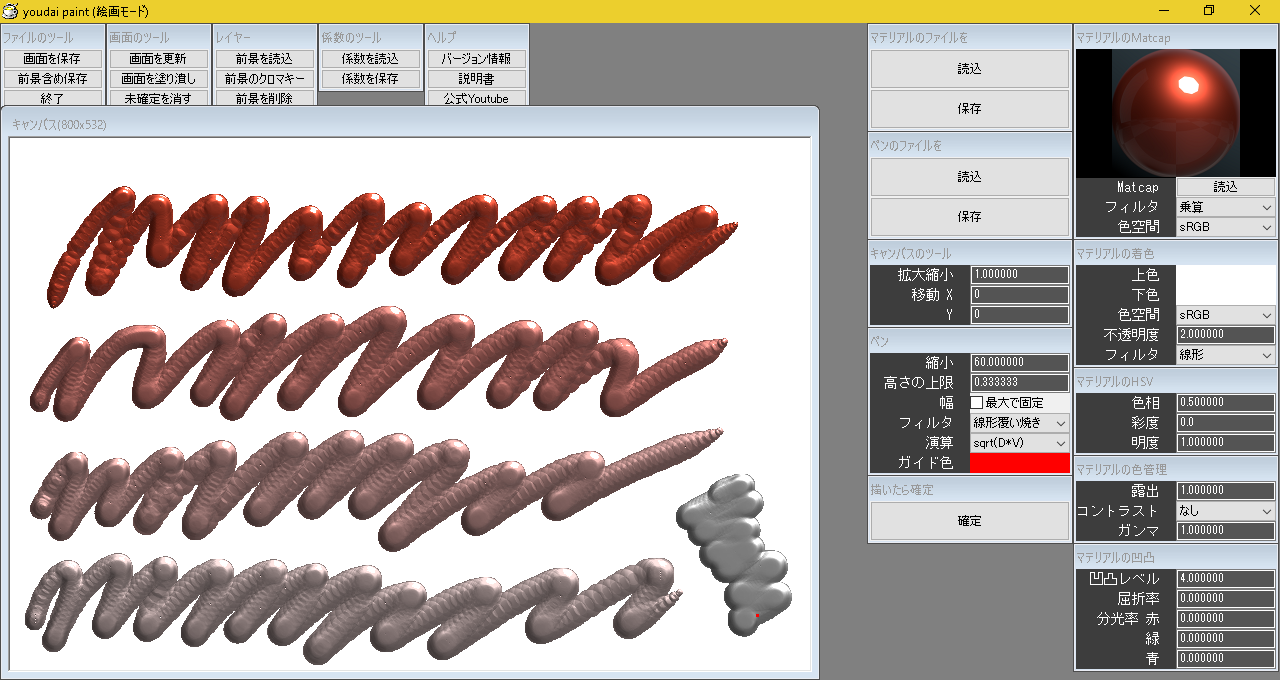
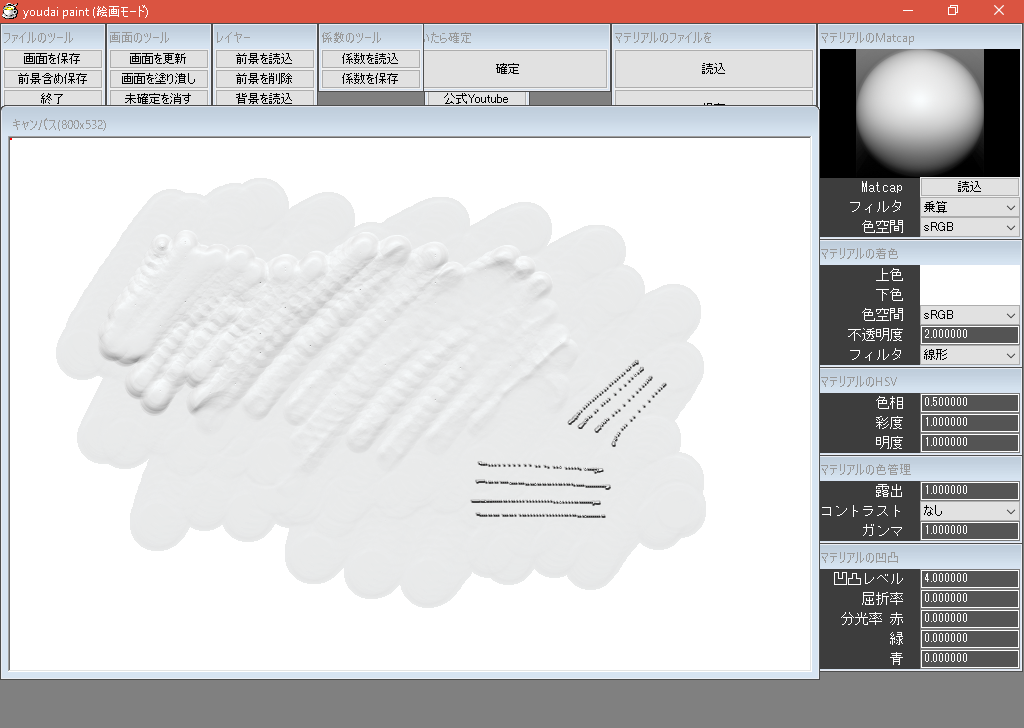
明度
明度を変更した例
マテリアルの色管理
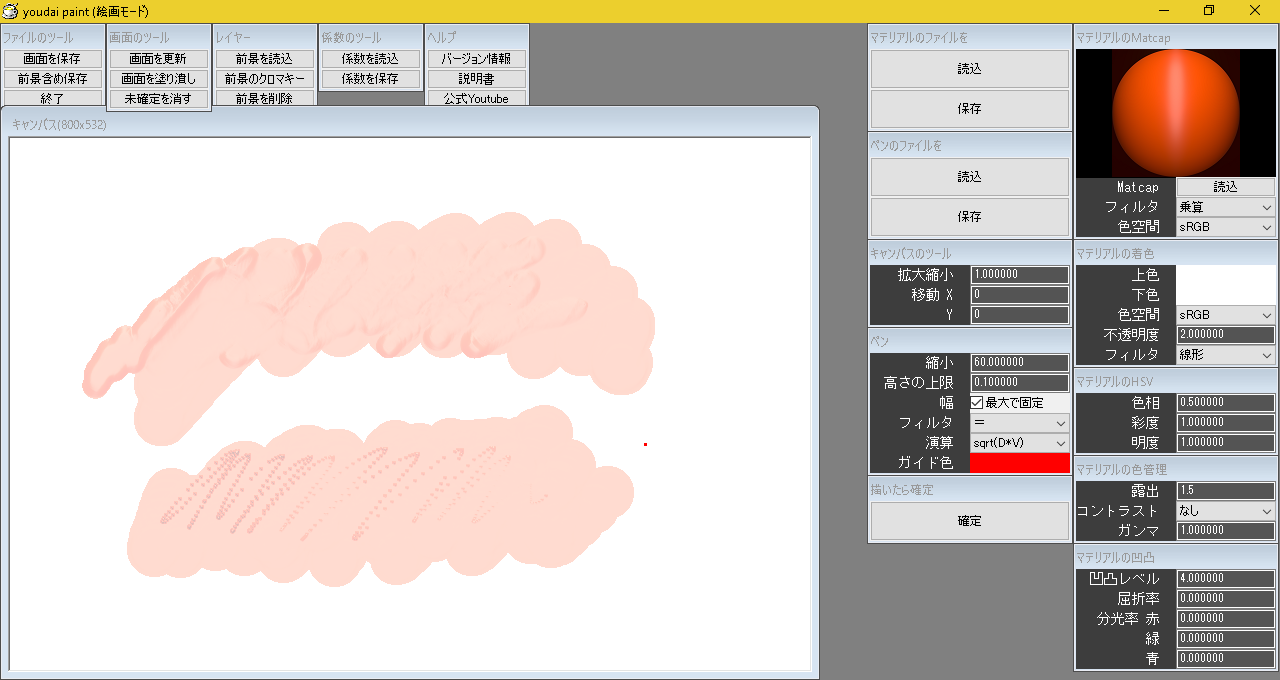
露出
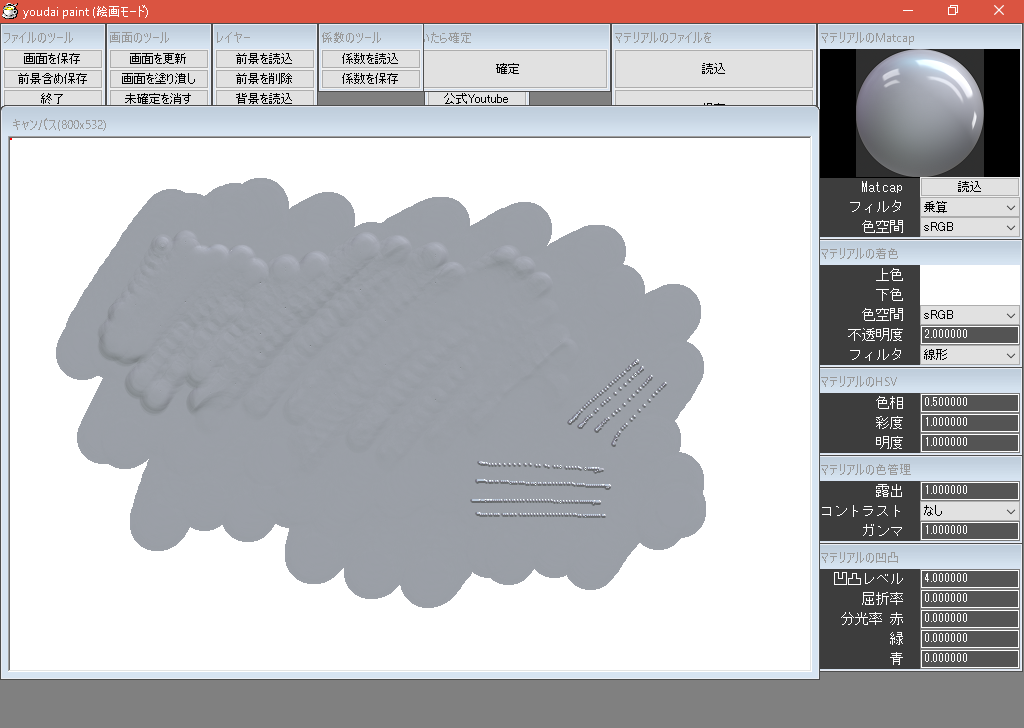
Matcapの露出を入力します。
1.0がそのままの明るさです。
<1.0>

<1.5>
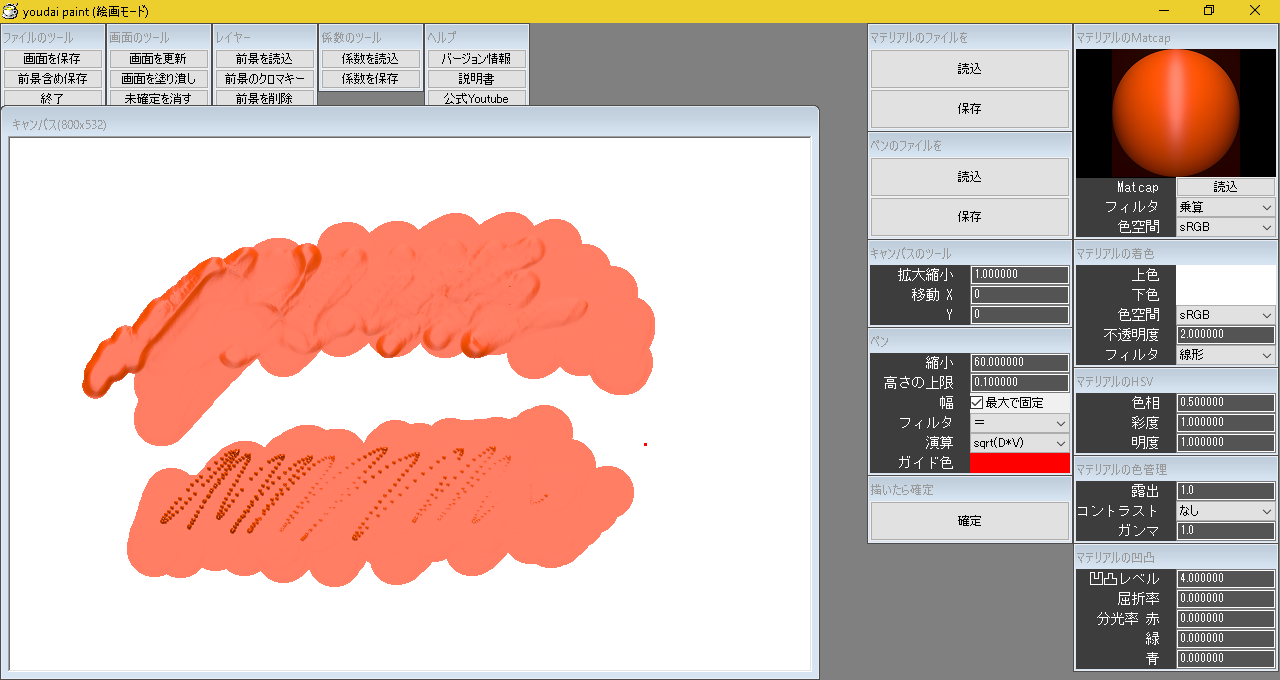
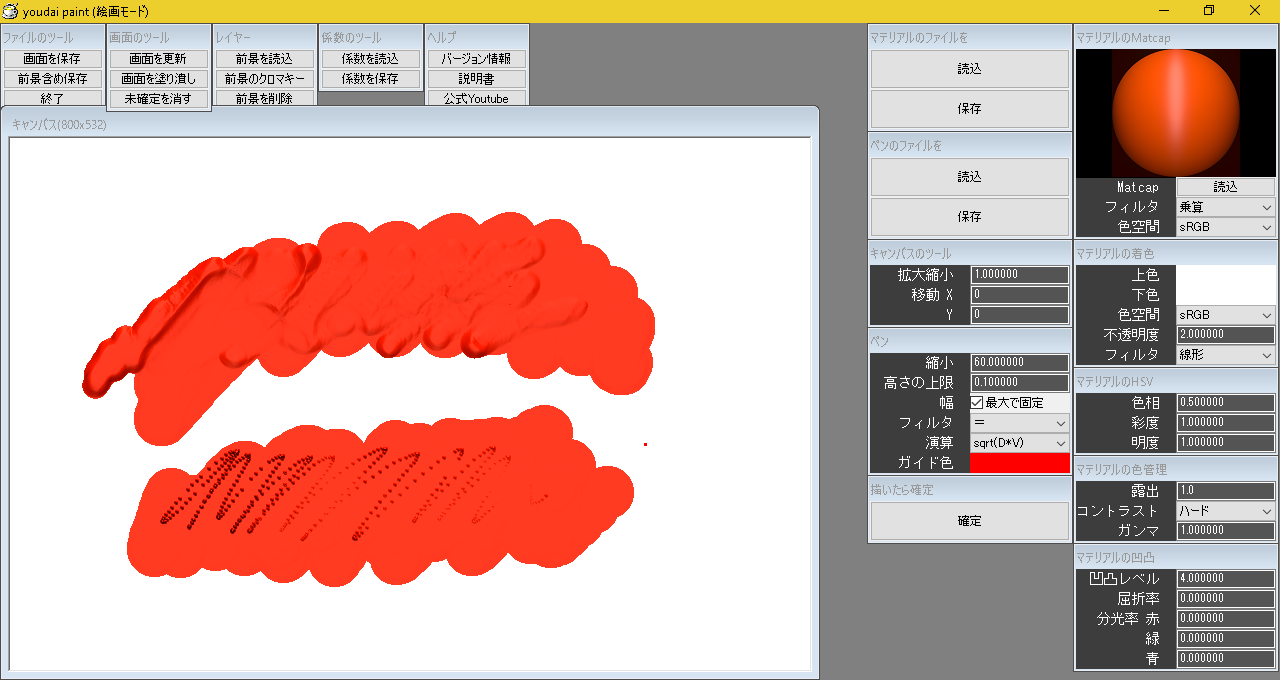
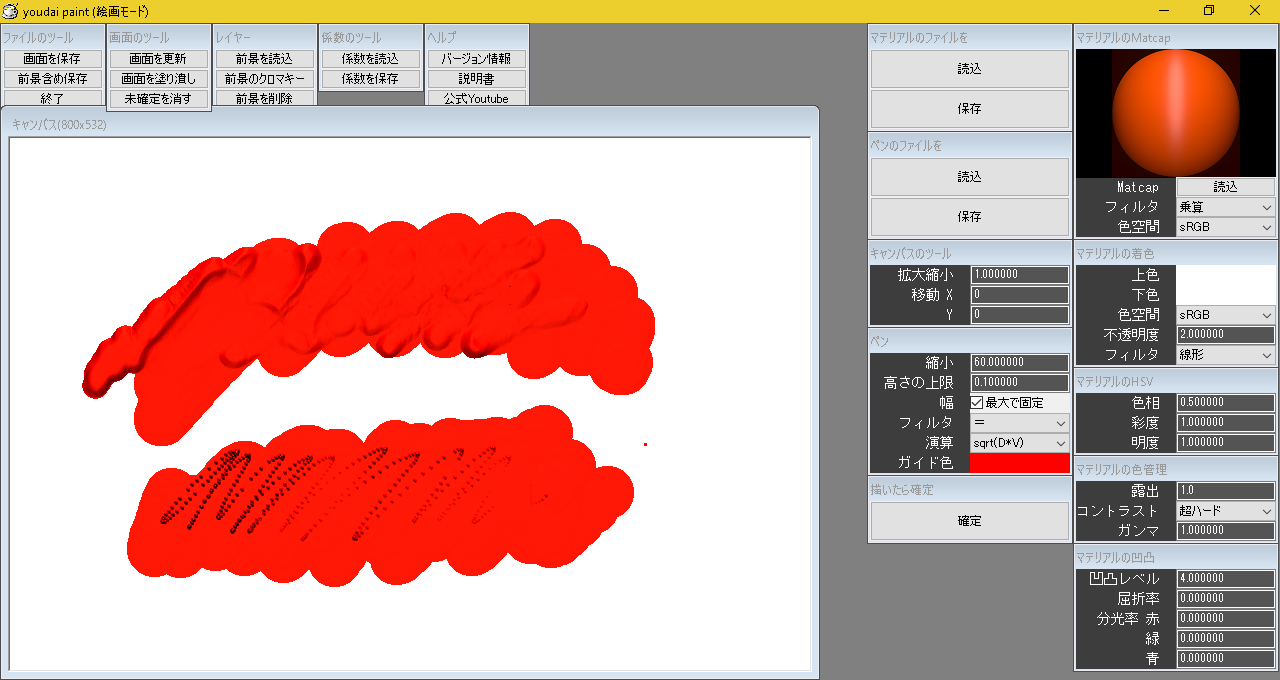
コントラスト
Matcapに対してコントラストを選択します。
<超ソフト>
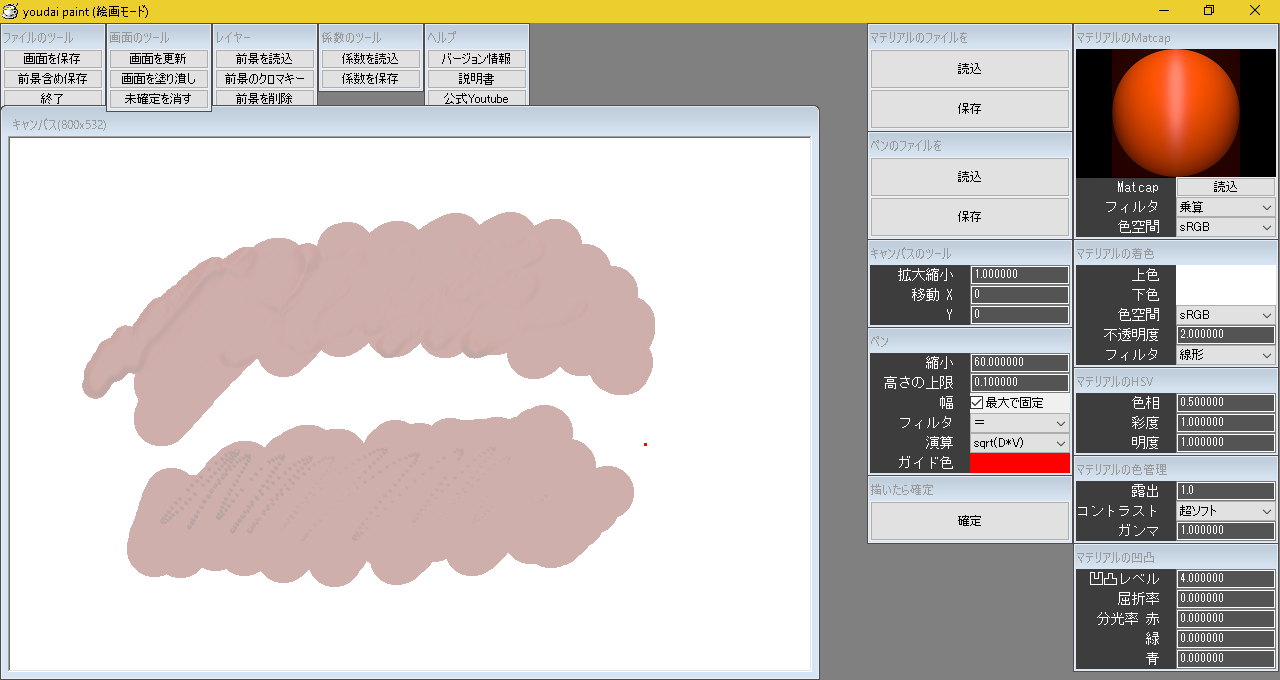
<ソフト>
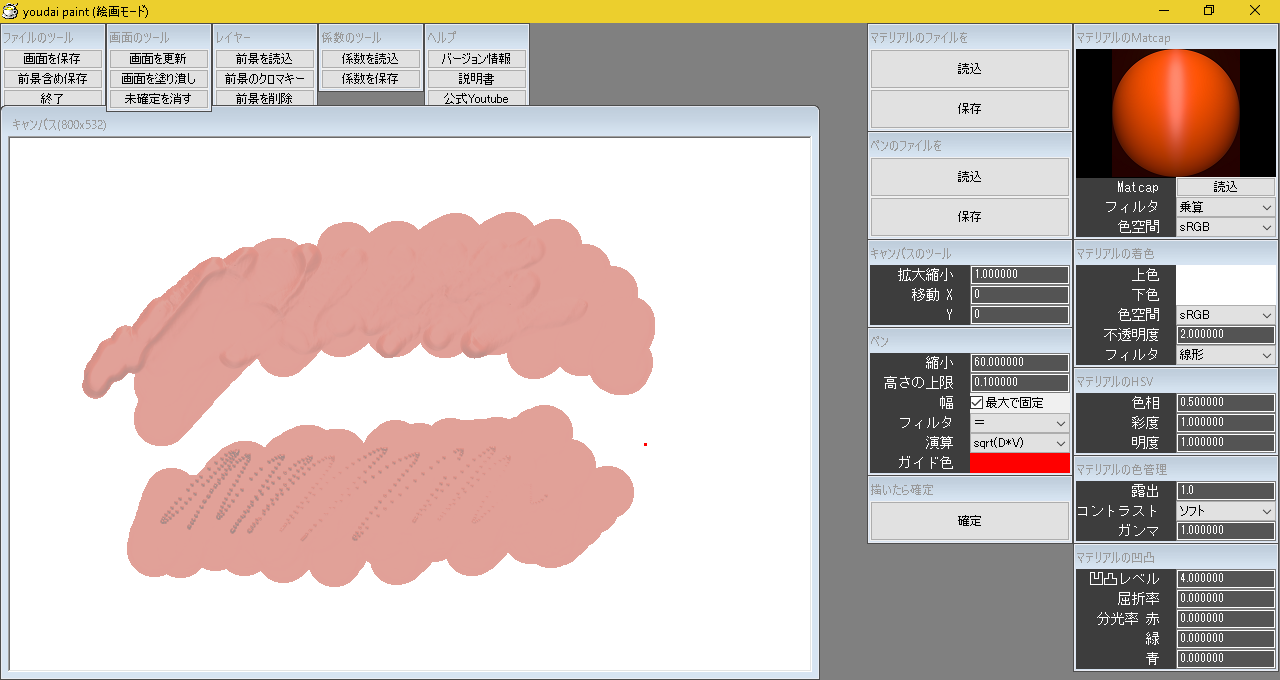
<なし>
<ハード>
<超ハード>
ガンマ
Matcapのガンマを入力します。
1.0がそのままのガンマです。
コントラストより細かい設定が可能です。
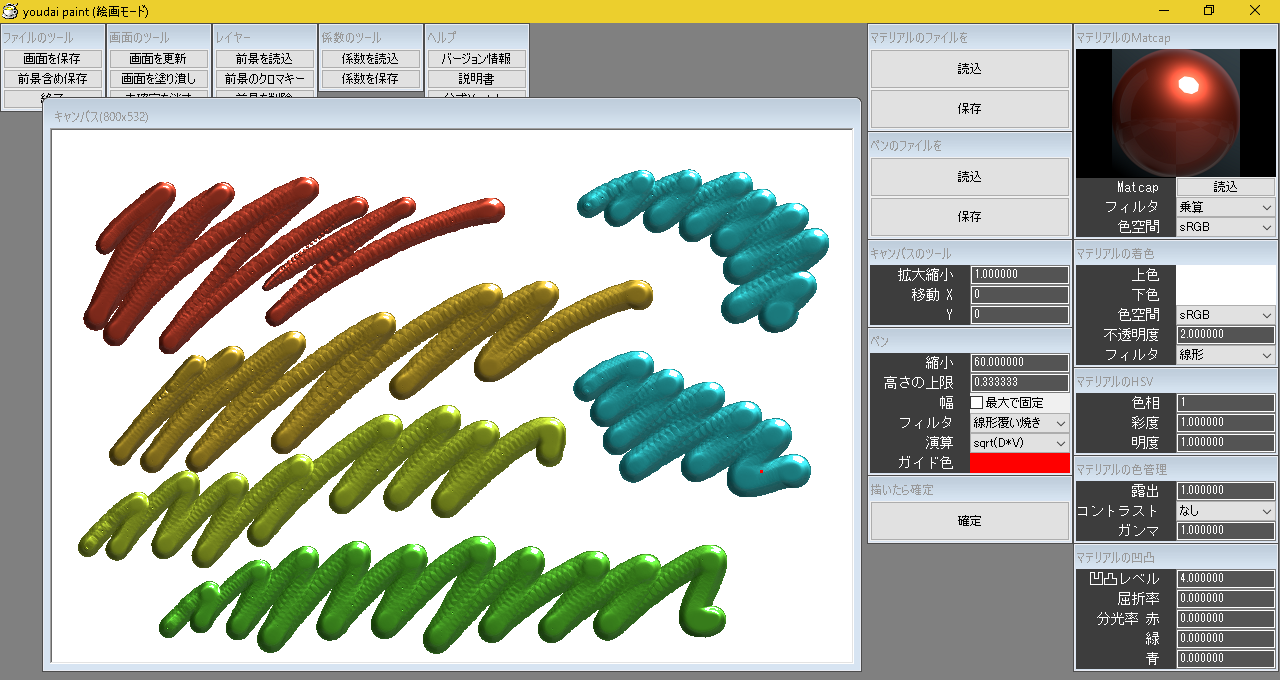
マテリアルの凹凸
凹凸レベル
マテリアルの高さの凹凸を入力します。
<1.0>

<4.0>
<8.0>

屈折率
屈折率を0.0~1.0の範囲で入力します。
値が大きいと、それだけ大きく屈折します。
通常は「高さ」と同じ値を推奨します。
ただし、目的の表現によっては「高さ」とは異なる値を入力しても問題ありません。
ちなみに
屈折率は絵画モードのみの機能です。
分光率
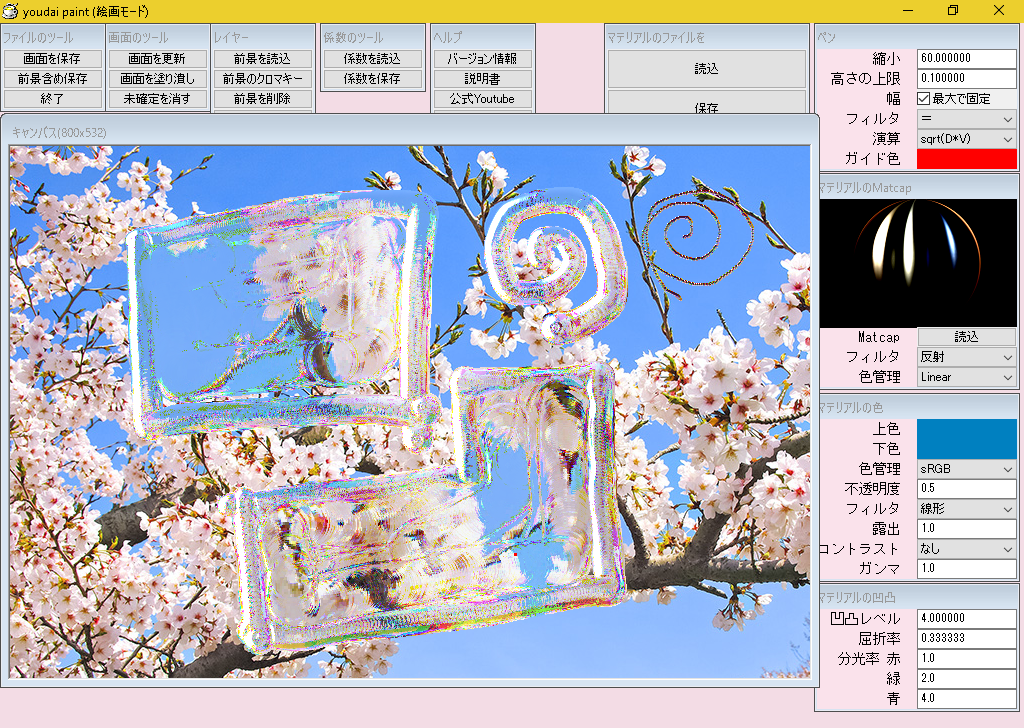
分光率を入力します。
屈折率の「赤・緑・緑」に対する倍率を変えることで分光性が表現できます。
例えば「赤1.0、緑1.5・青2.0」にすると、ガラスのような分光性が表現できます。
ちなみに
分光率が1つでも0.0の場合、従って分曲率は0.0になりますから、分光性はキャンセルされるわけです。
だから分光性を表現したい場合は、分光率は0.0より大きい数値を入力しましょう。
ちなみに
分光率は絵画モードのみの機能です。